Elizabeth’s Quilt
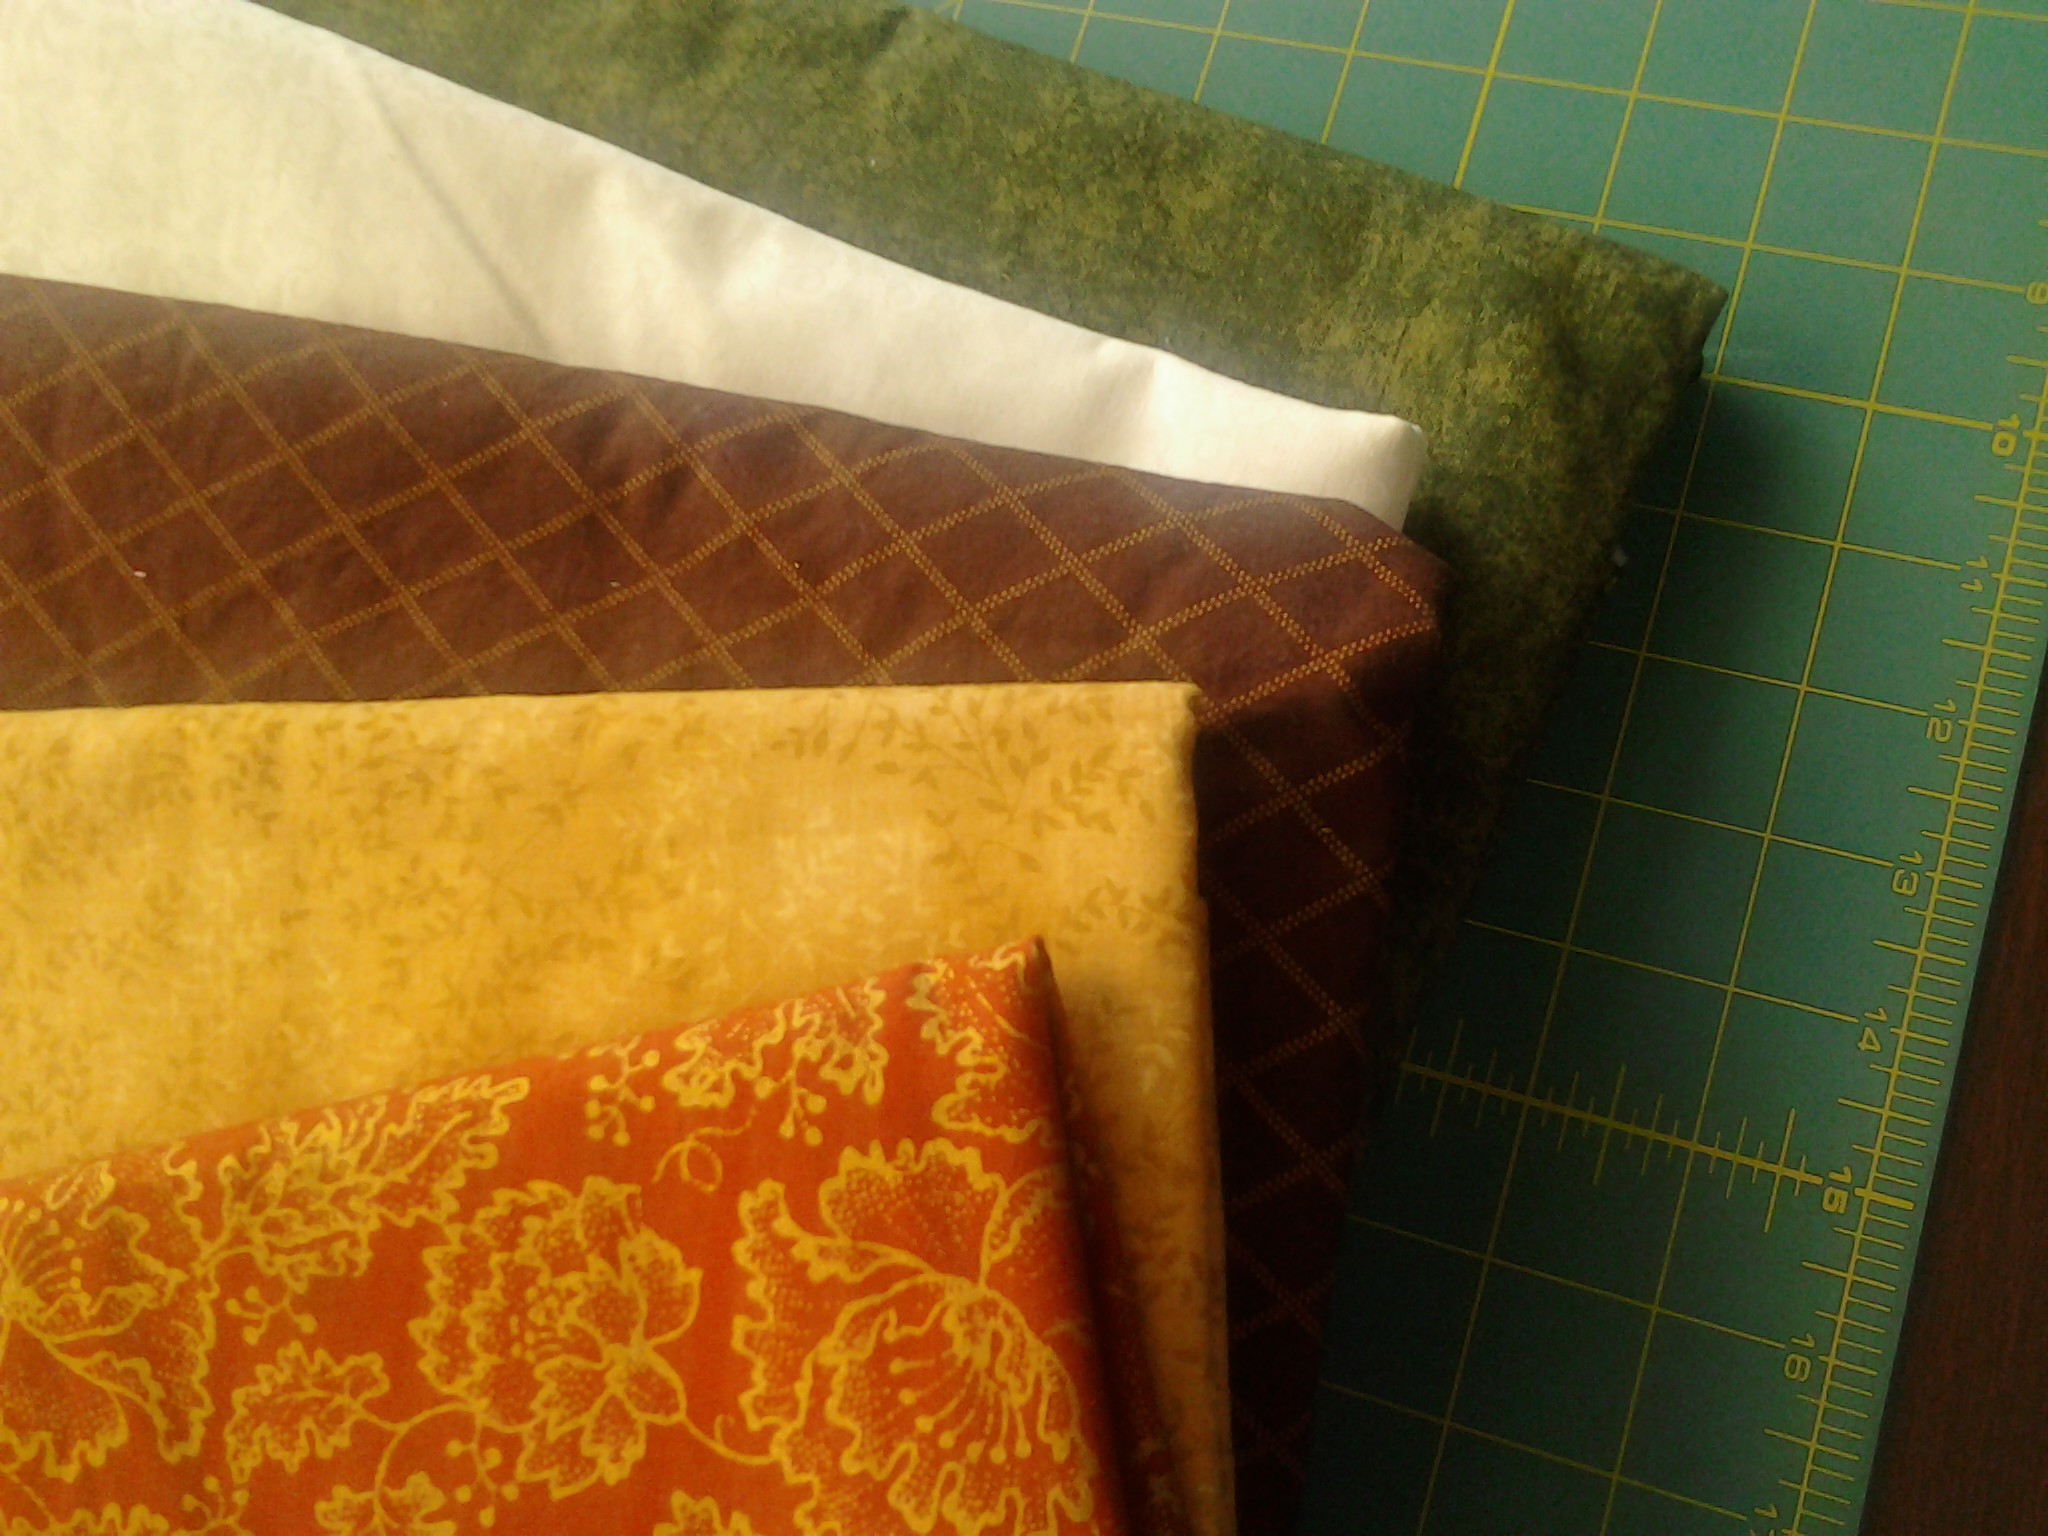
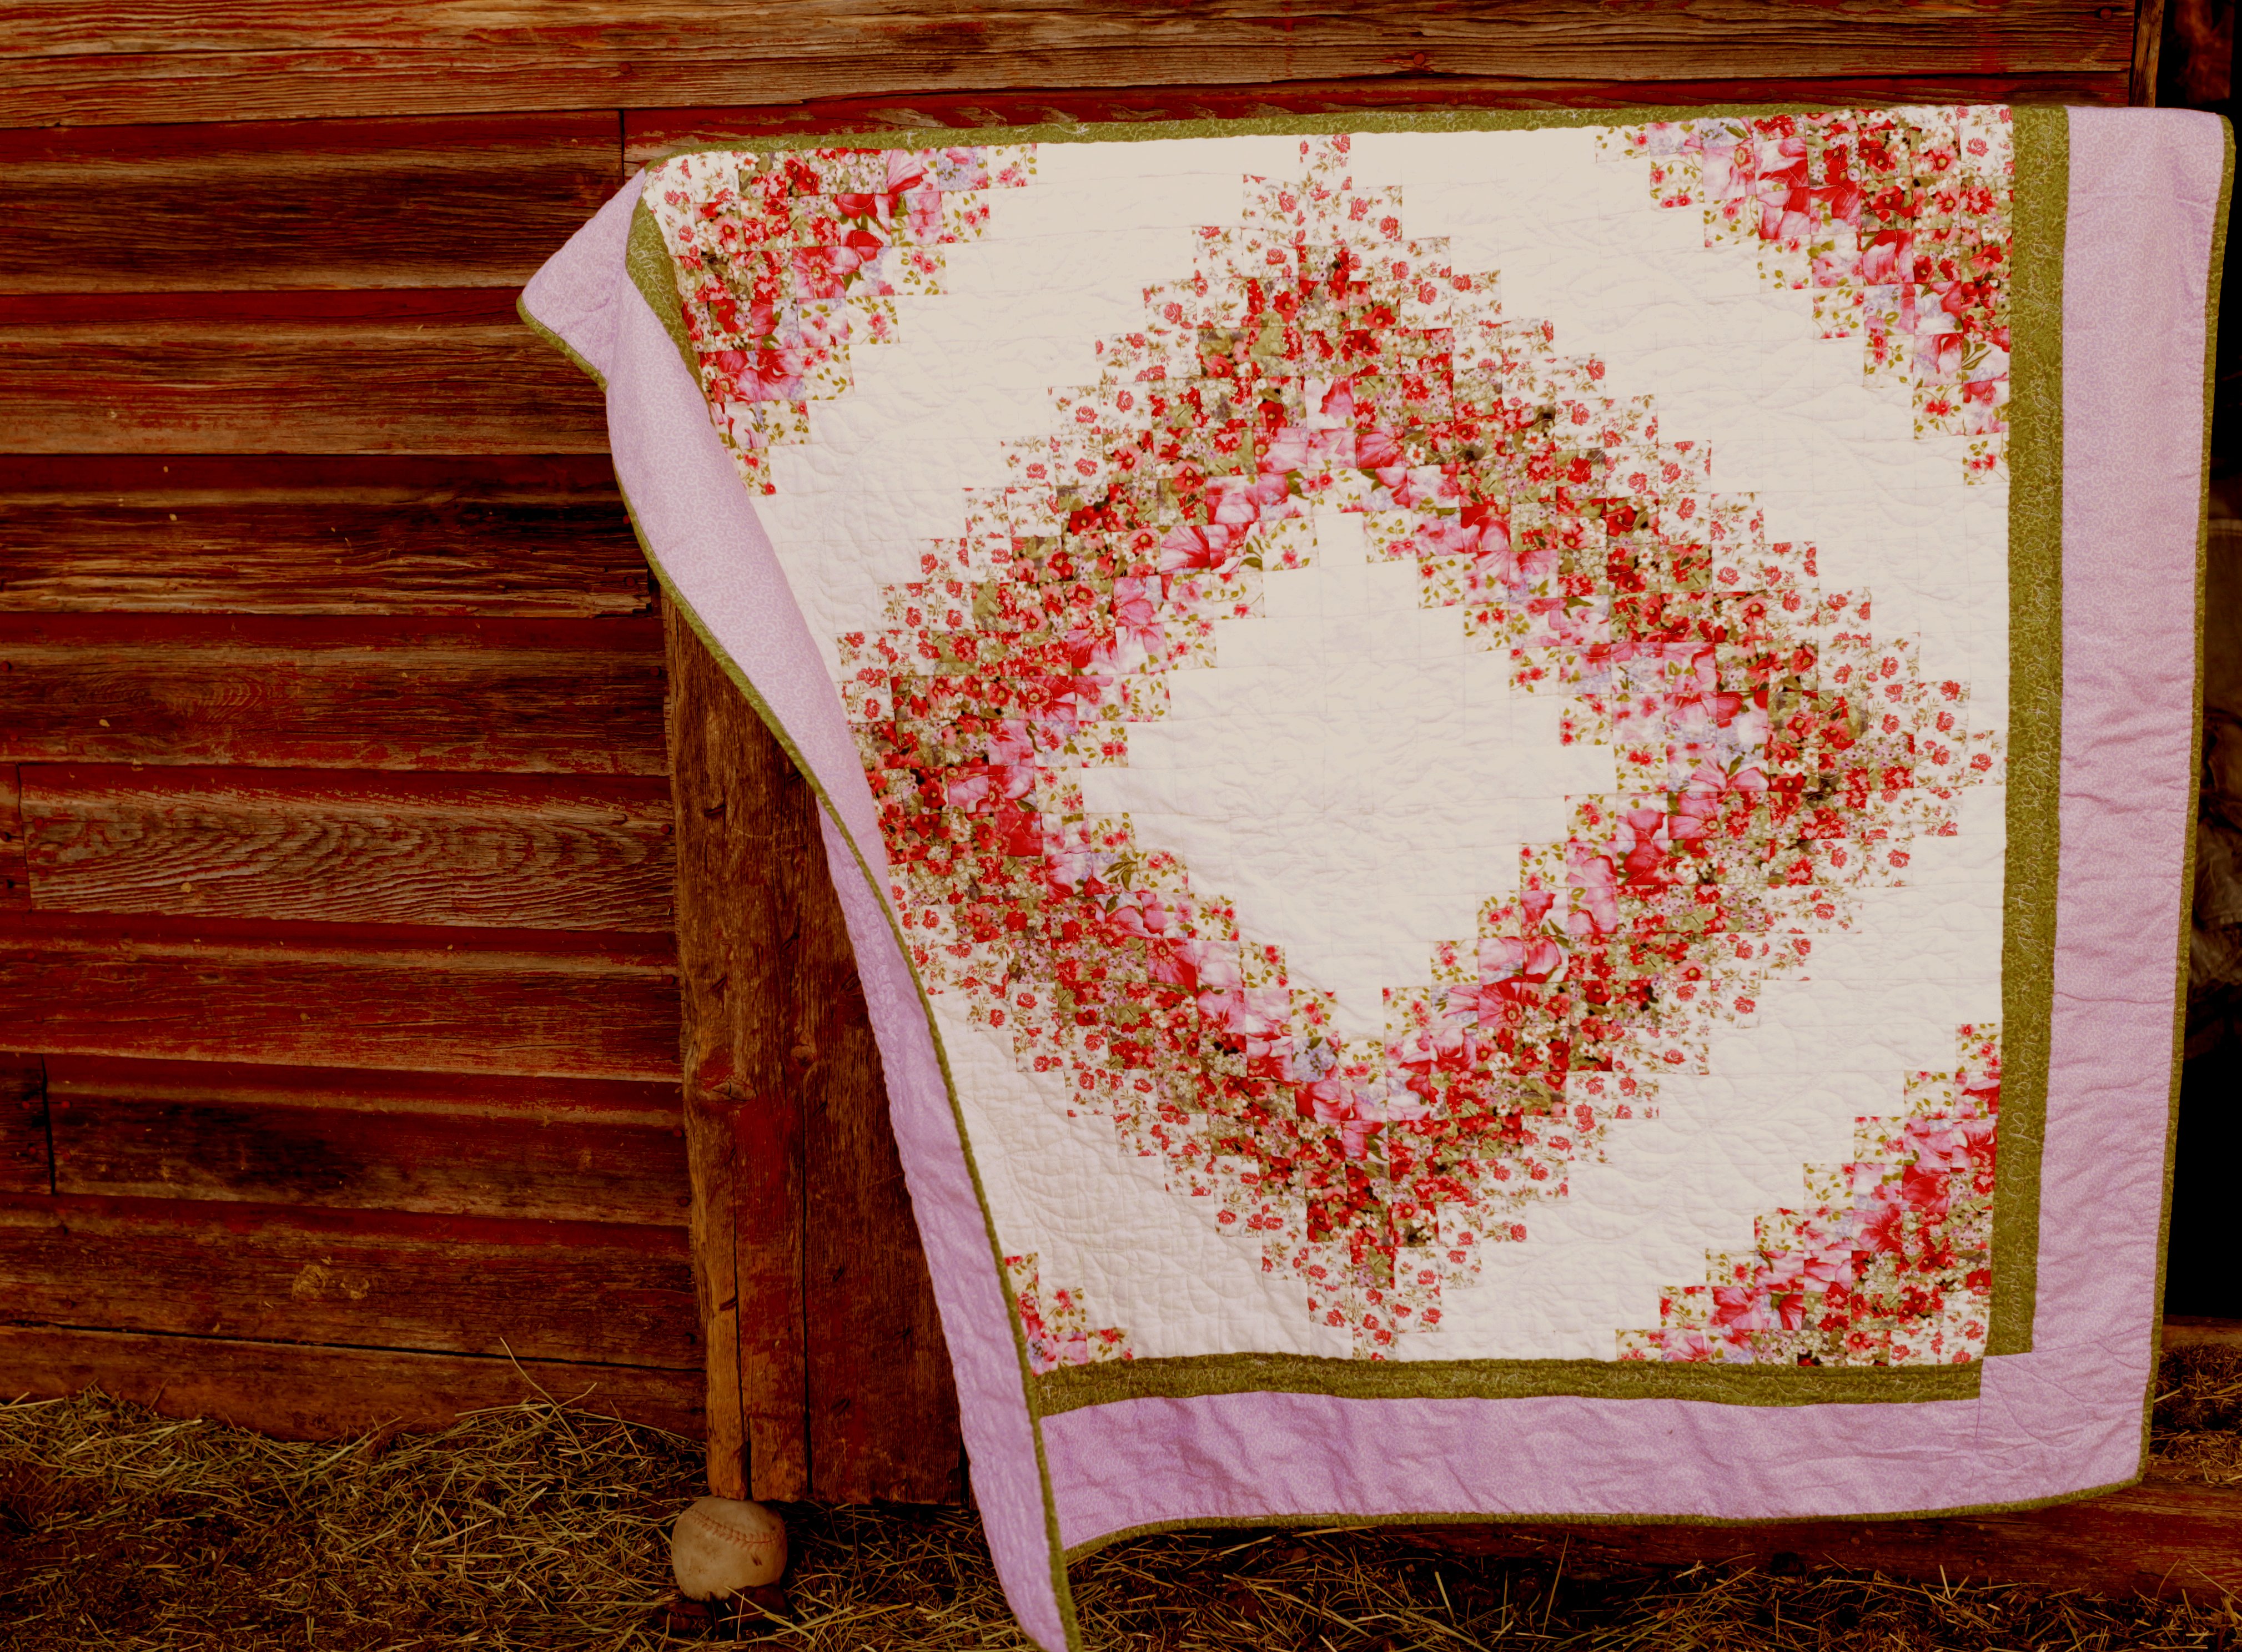
I thought I would give an update as to what my current quilting projects are. As you may recall, I am making a quilt for each of my children. This helps me to learn new techniques as I am going along. Currently, I am working on a quilt for my daughter, Elizabeth. Unlike the boys, she took an active role in choosing the pattern and the fabric. Isn’t this just a beautiful quilt?
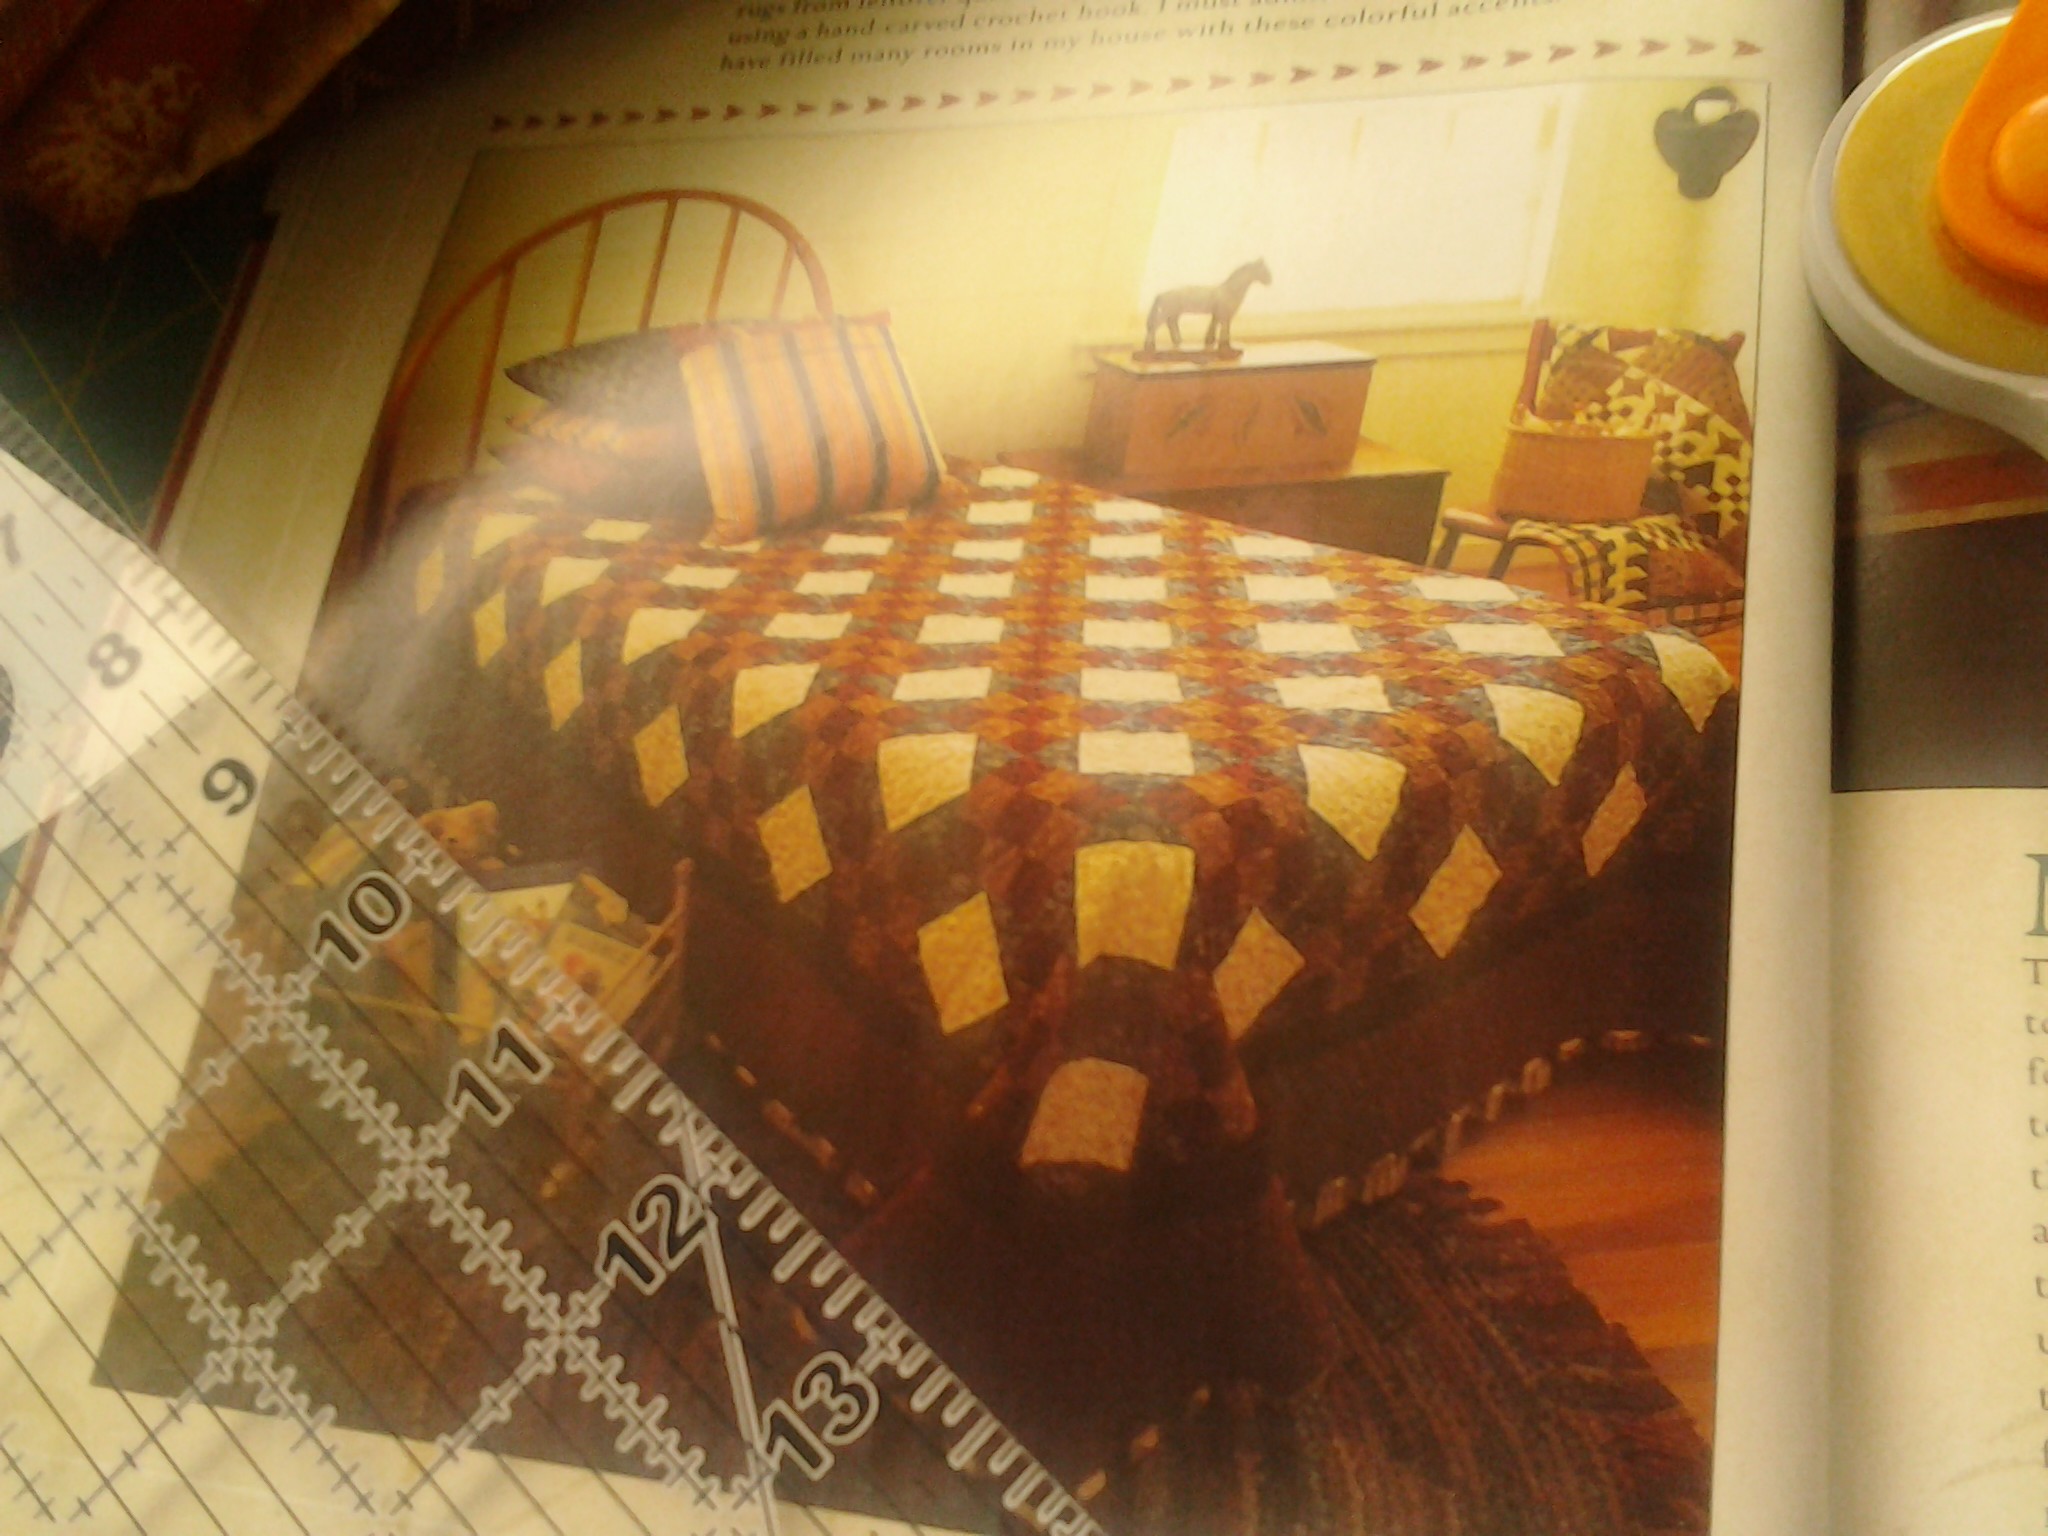
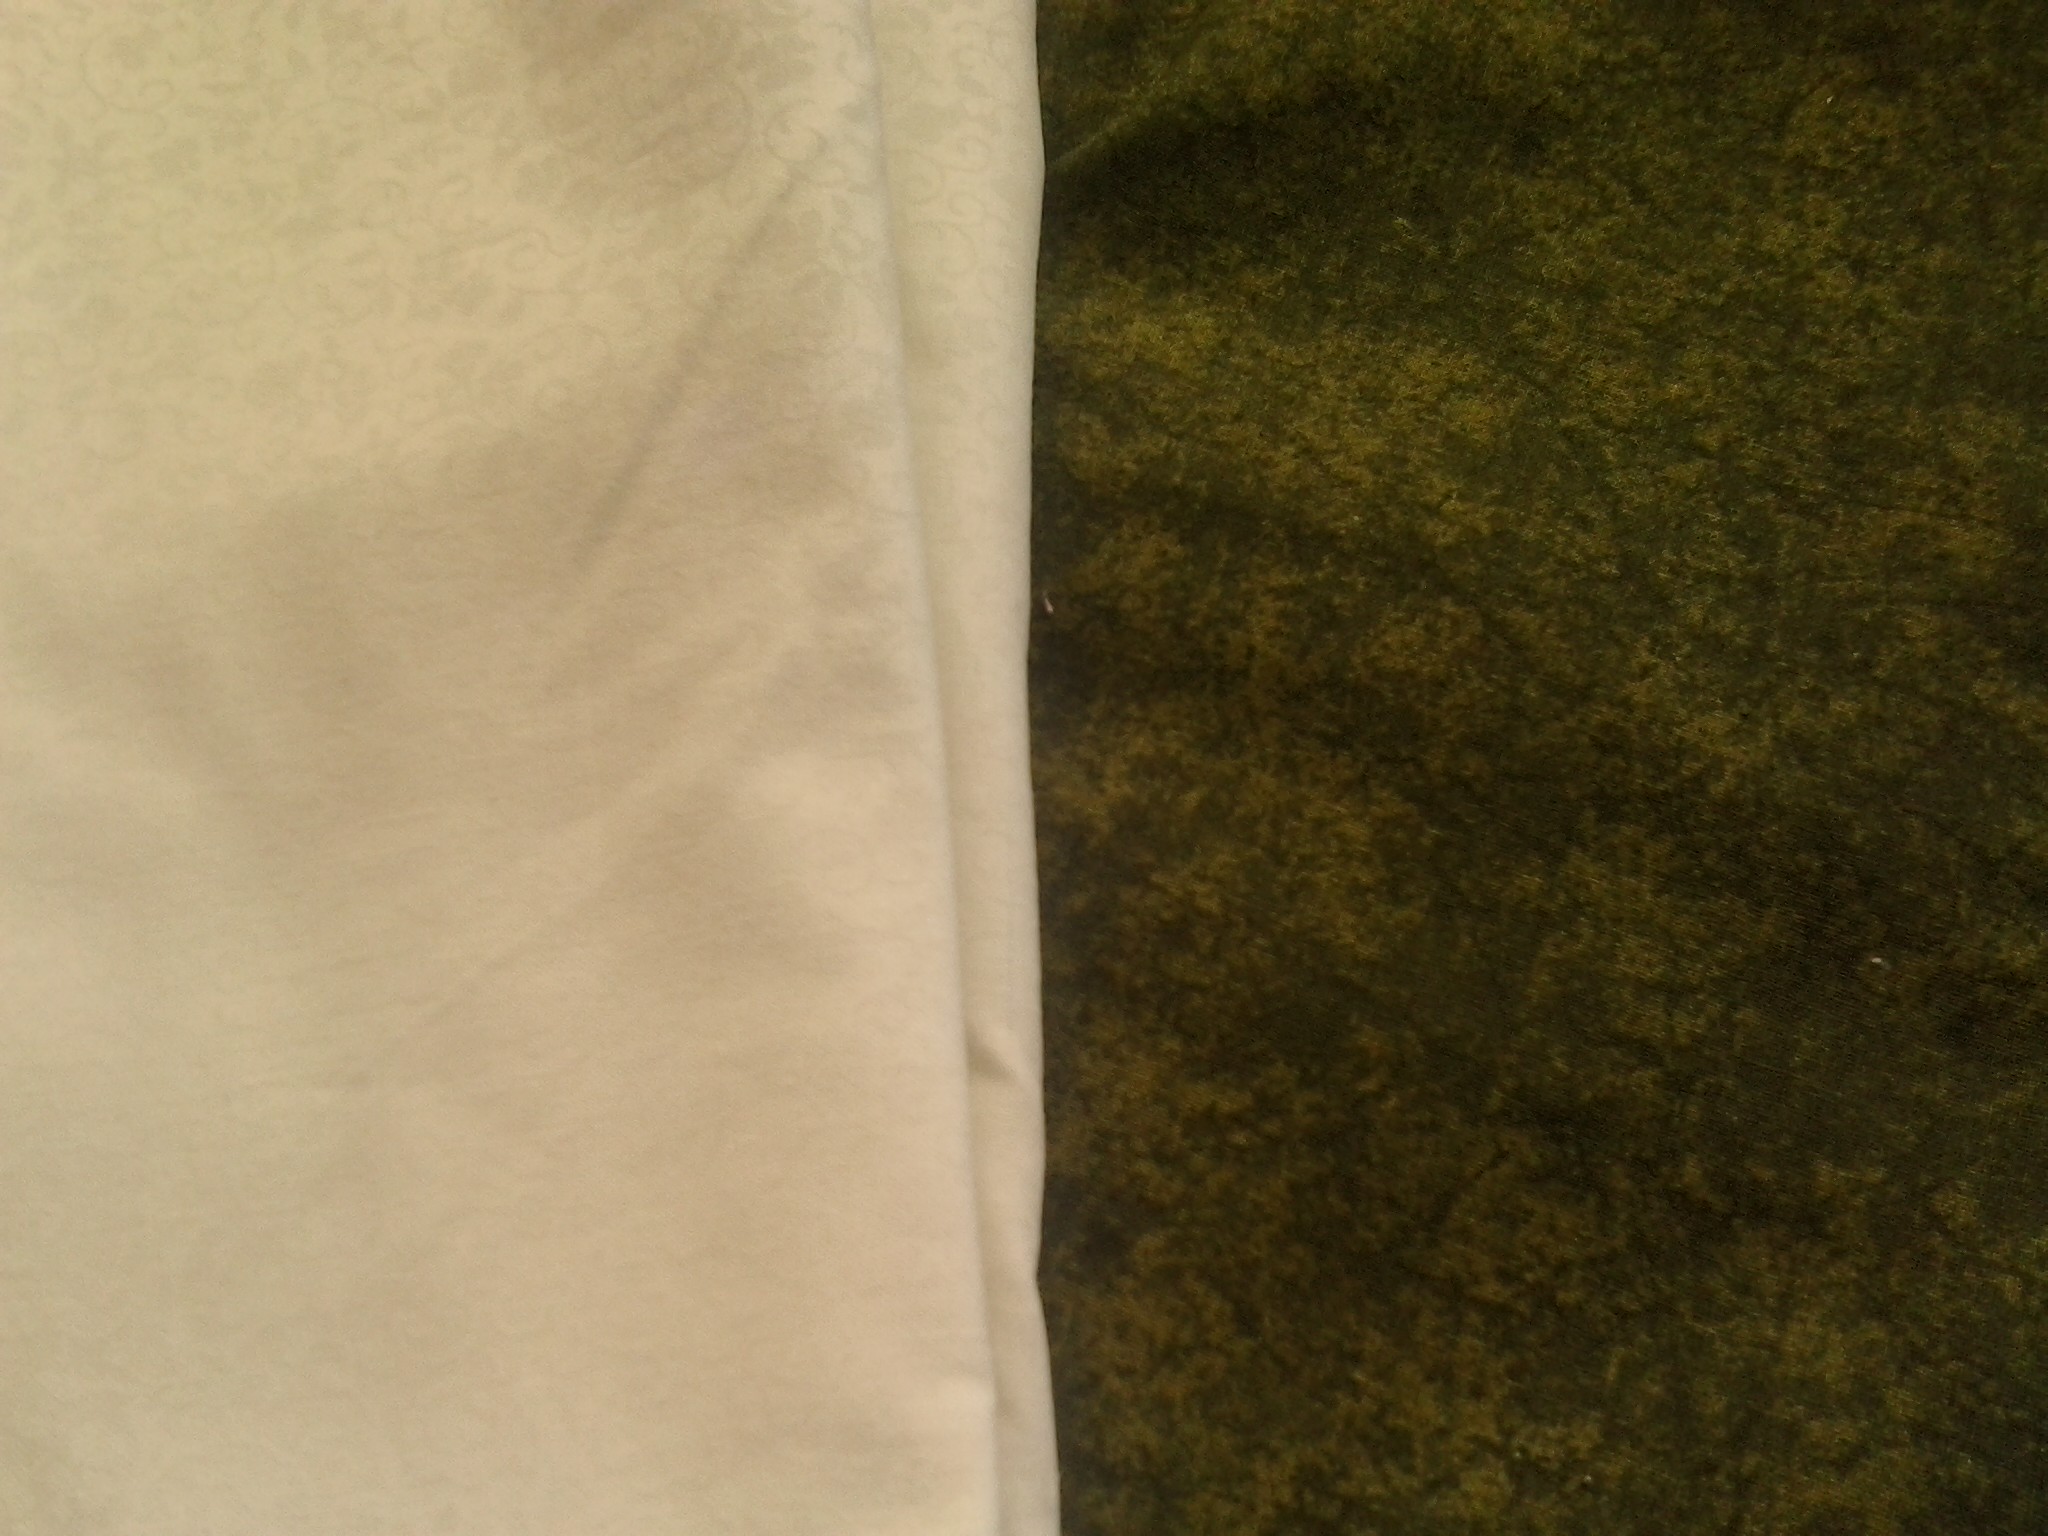
I wish you could see the shiny gold in the orange fabric. These photos do not represent the beauty very well. She has great taste!

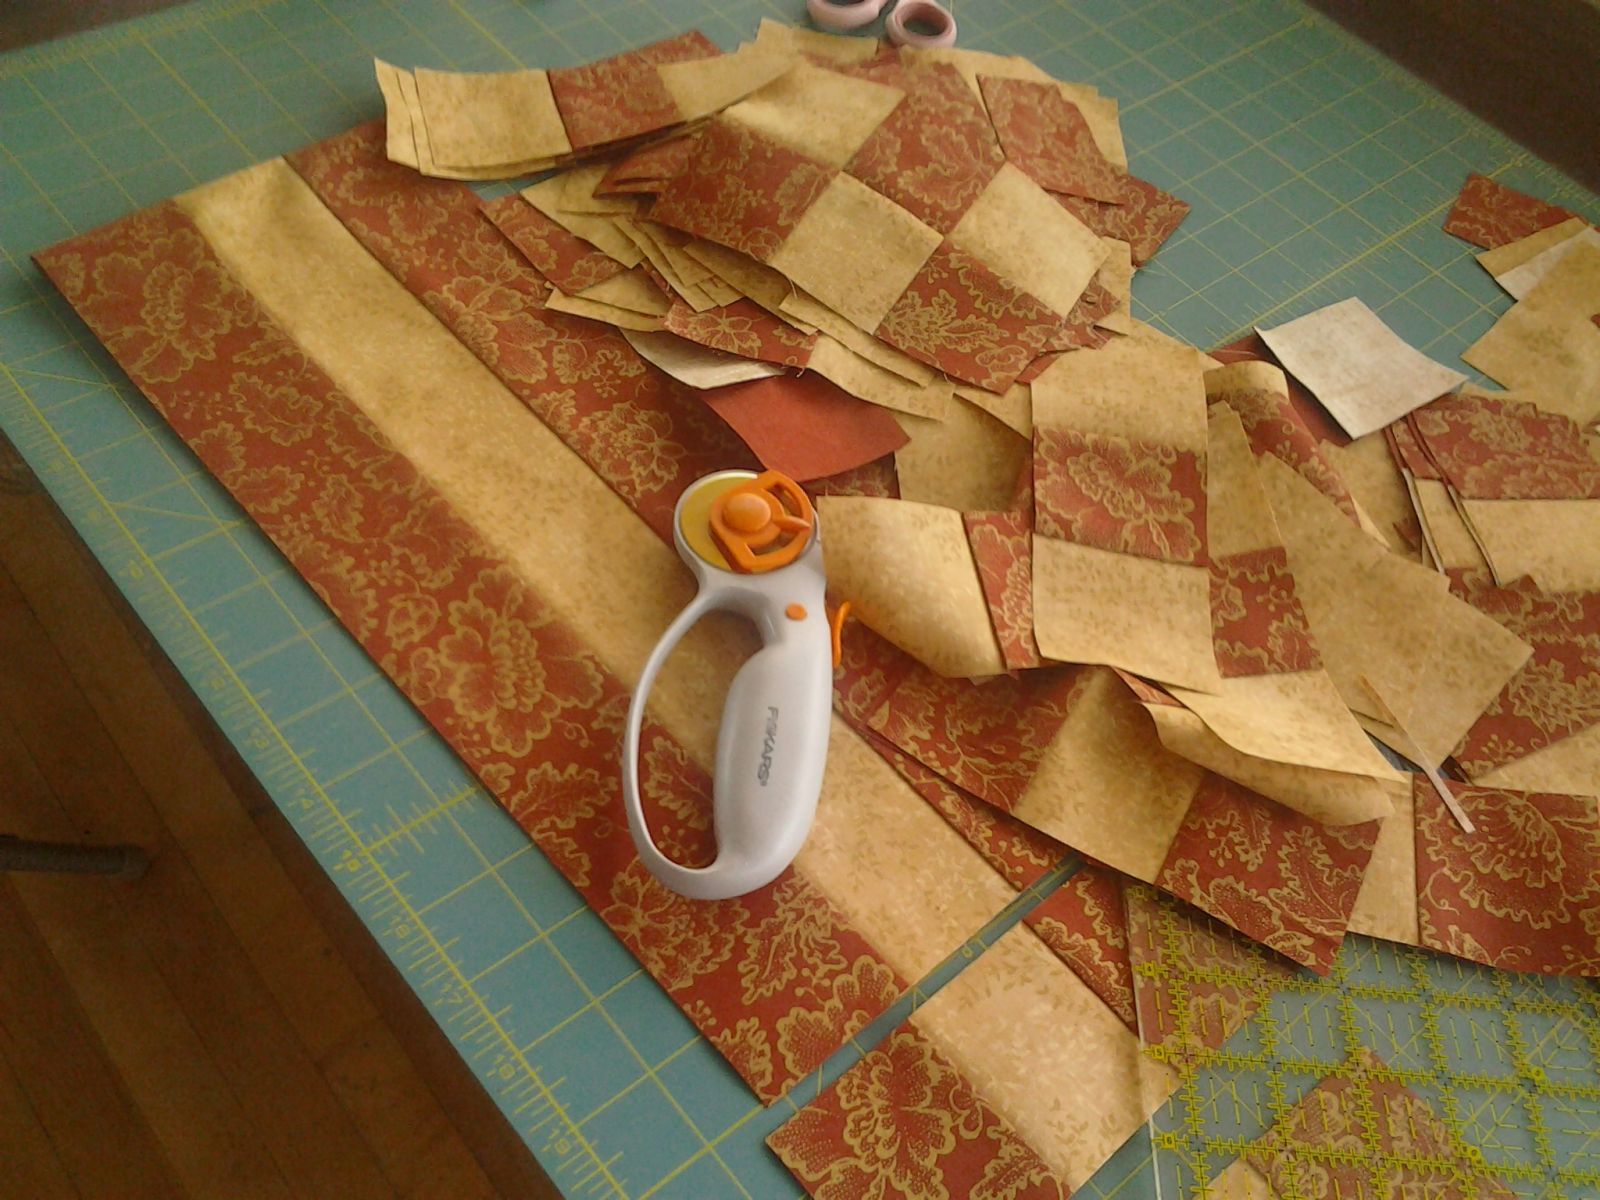

Here, we see the squares together. I have since added a 2 inch green border and have yet to add the next much wider border. There are surprises in store for the rest of this little beauty, so stay tuned!

I will update as the quilt progresses. I think it will just be so …. Bethy.


Fixed Photo Frame…. Glass
We have moved. No, I mean… we have really, really moved. If you count the week in the motel and the week in a church basement, we moved six times in two years. What a ride! But that is a whole ‘nuther story, but brings me to today.
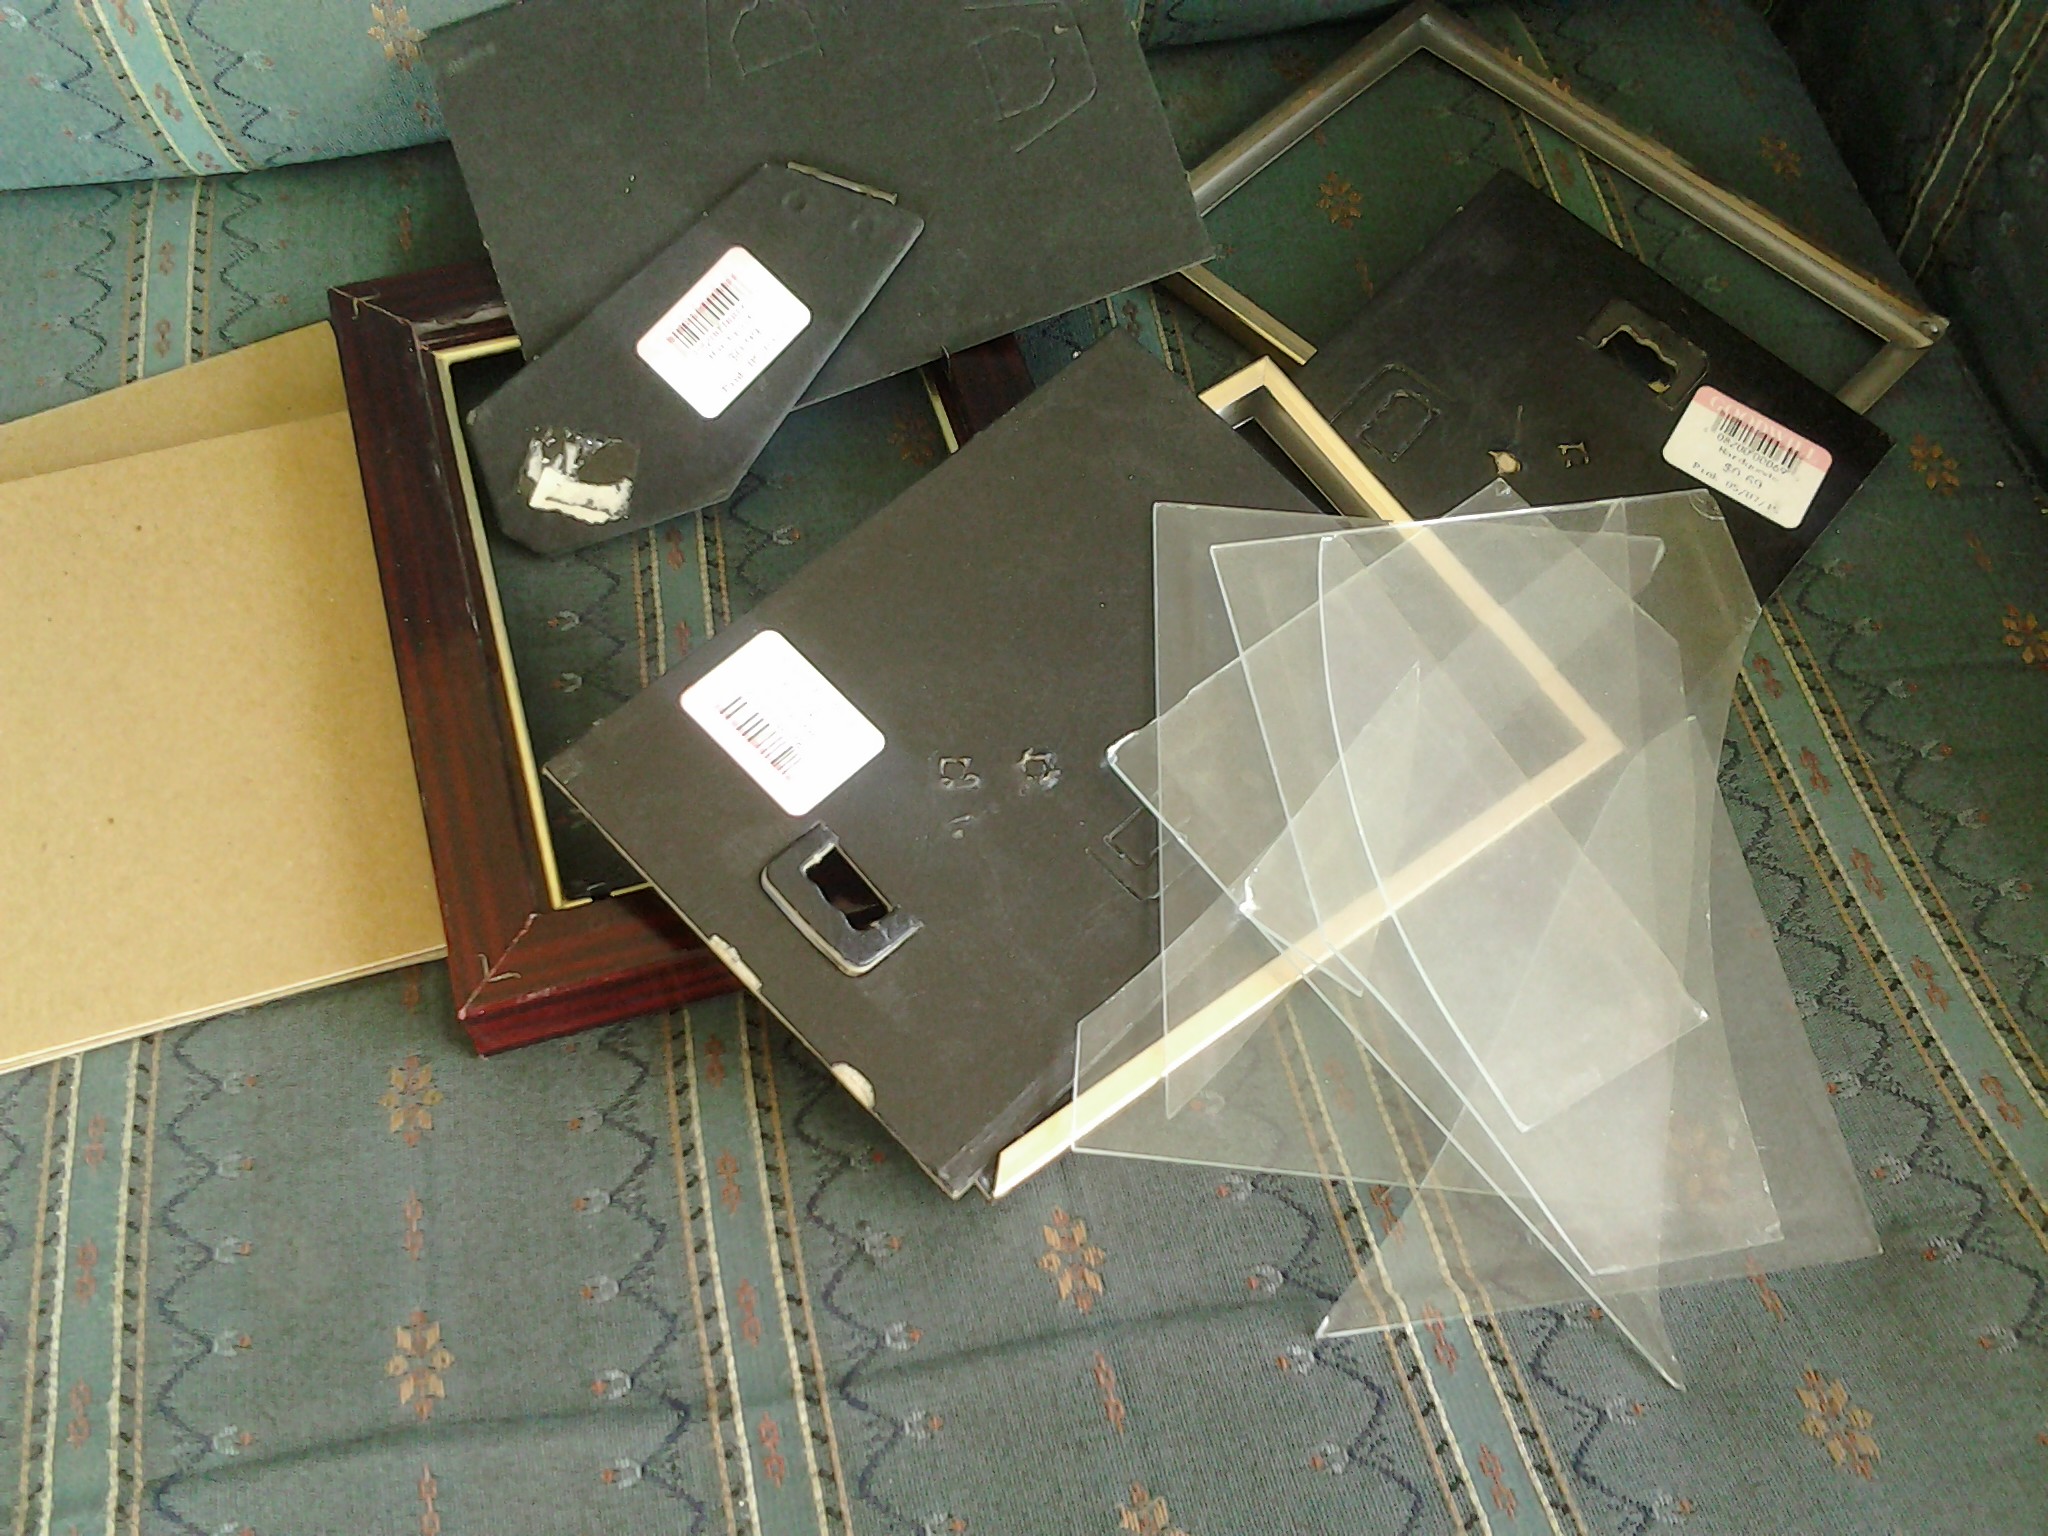
We have had almost all our belongings in storage for a very long time. When you move, things break. I have a lovely tri-fold photo frame. The glass broke in all three parts of the frame. I went to the thrift store and purchased three frames of the same size for .66, .66, and .99 cents, respectively. I simply removed the glass from the thrift store finds, cleaned them, and put them into my old frames. Ta da! That’s it! Easy and inexpensive. Why, I bet you could do this, too!

Graduation, 2015
After spending endless hours preparing the invitations, they have been sent, RSVP’s received, chairs gathered, decorations chosen, tables procured, and the house cleaned. All this means….. there’s gonna be a P A R T Y!
May I present to you the current Home of Higher Learning 2015 graduates!

Miss Emily Sue
Miss Kaitlynn Sue
These are our sixth and seventh graduates, with five more to go. My, how time flies! It seems like just yesterday, these girls were wee tots!


Now, they are all grown up and are successful horse trainers. See their Facebook page here.
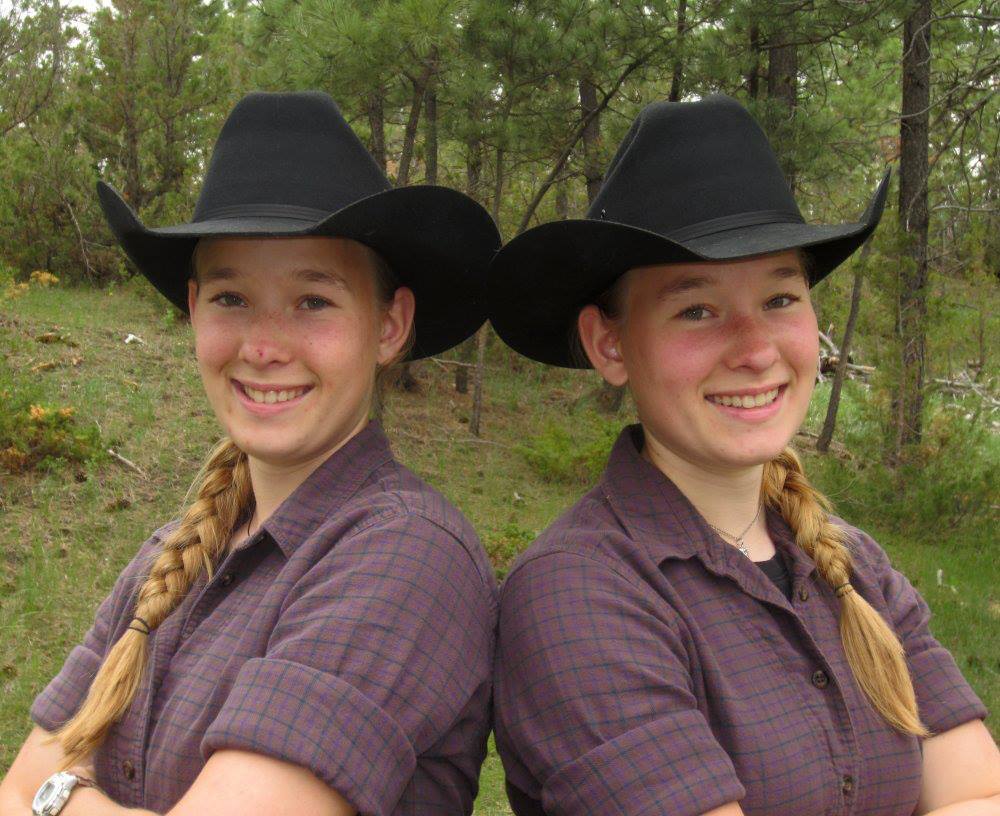
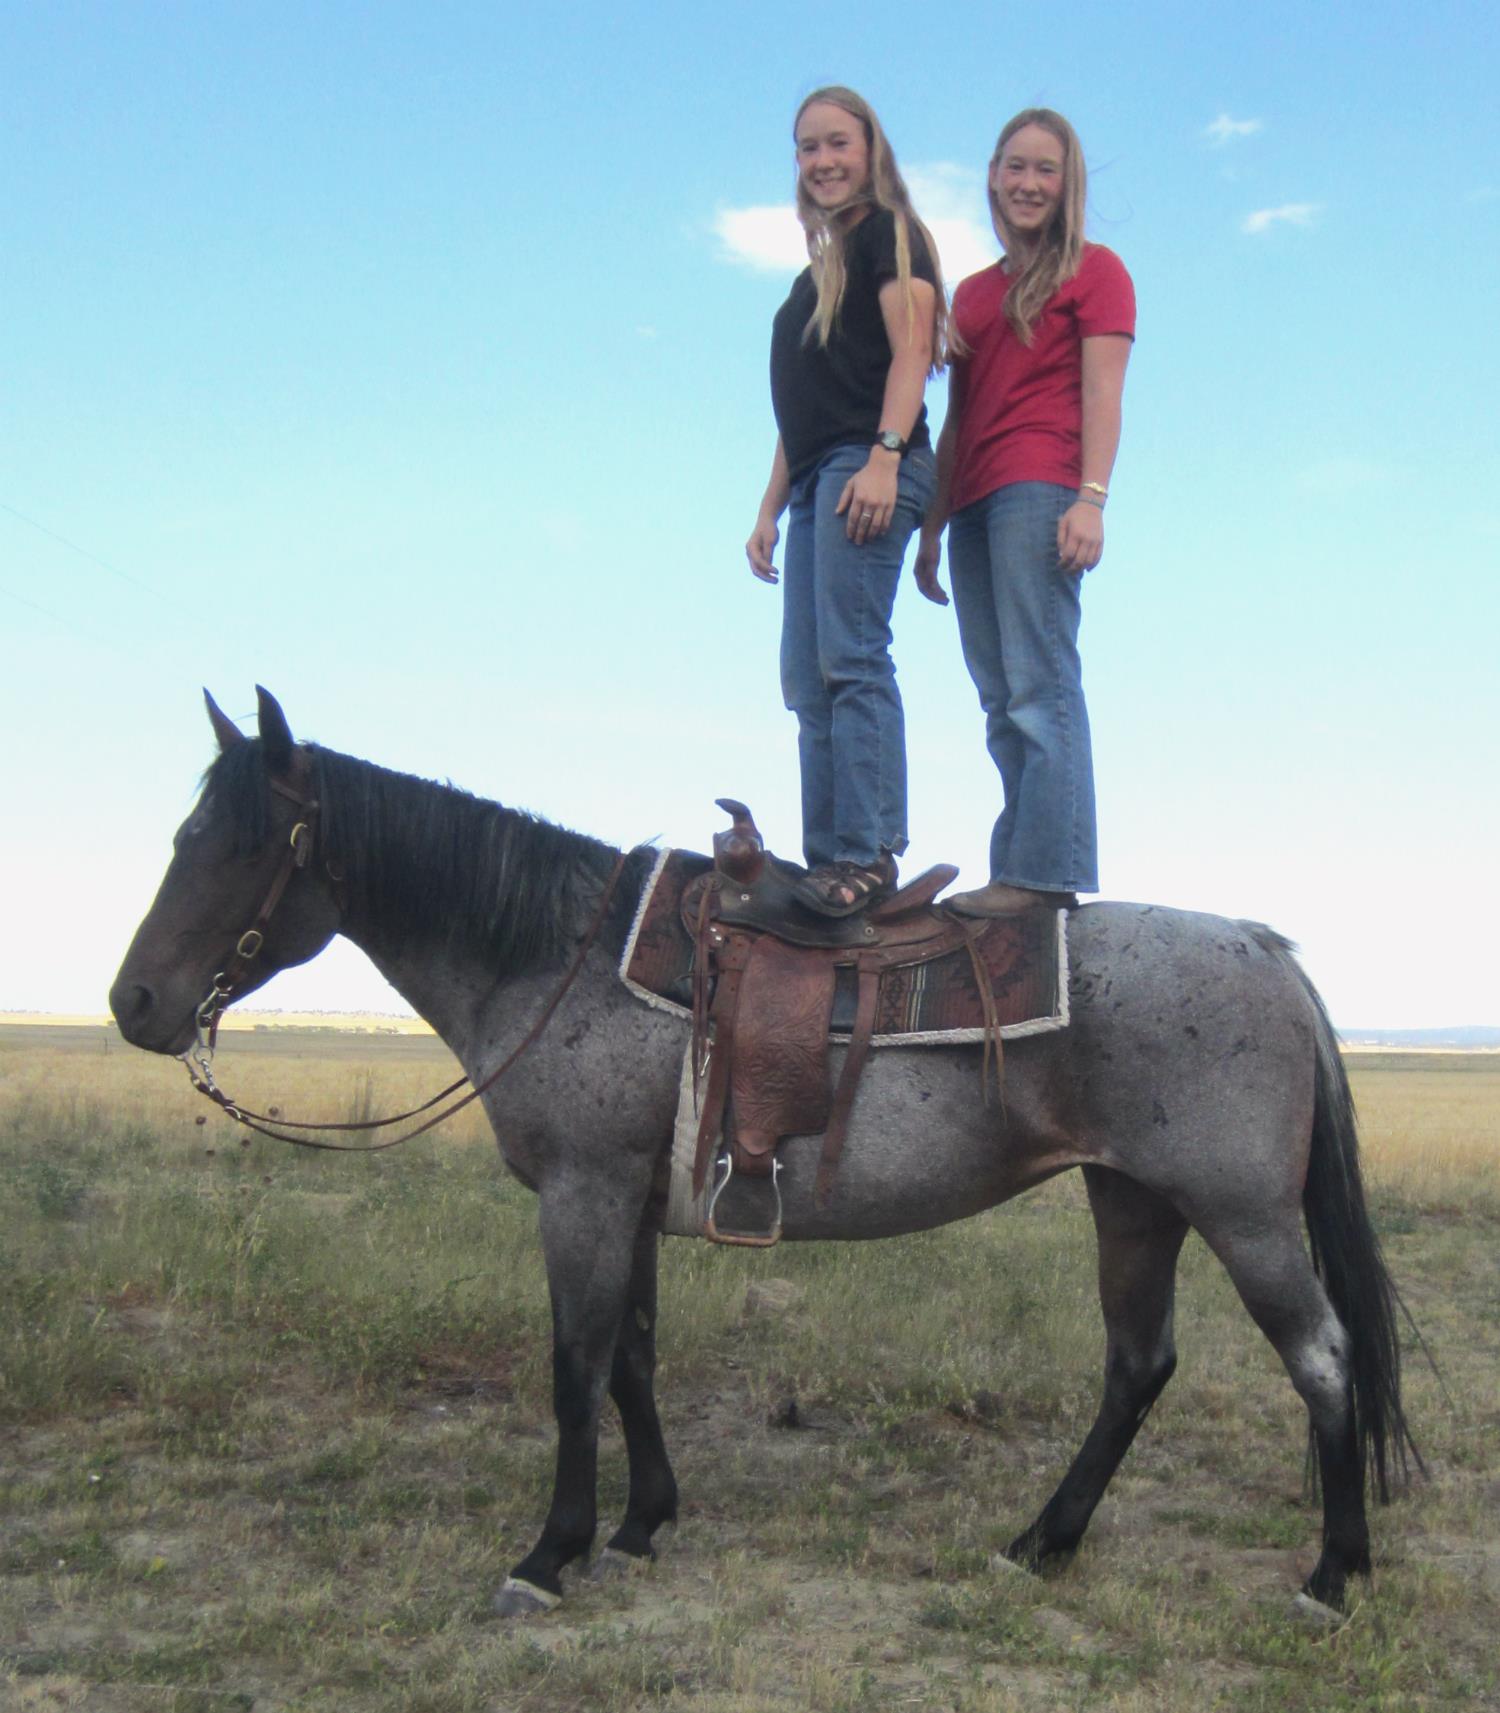
They are beautiful young ladies, who have shown themselves to be quite capable. They know how to do concrete, build a house, shoot guns, buck hay, sing in harmony, clean a house, and cook dinner! Plus, they are fun to be with!
I’ll let you know how the party was next time!
The Red Quilt

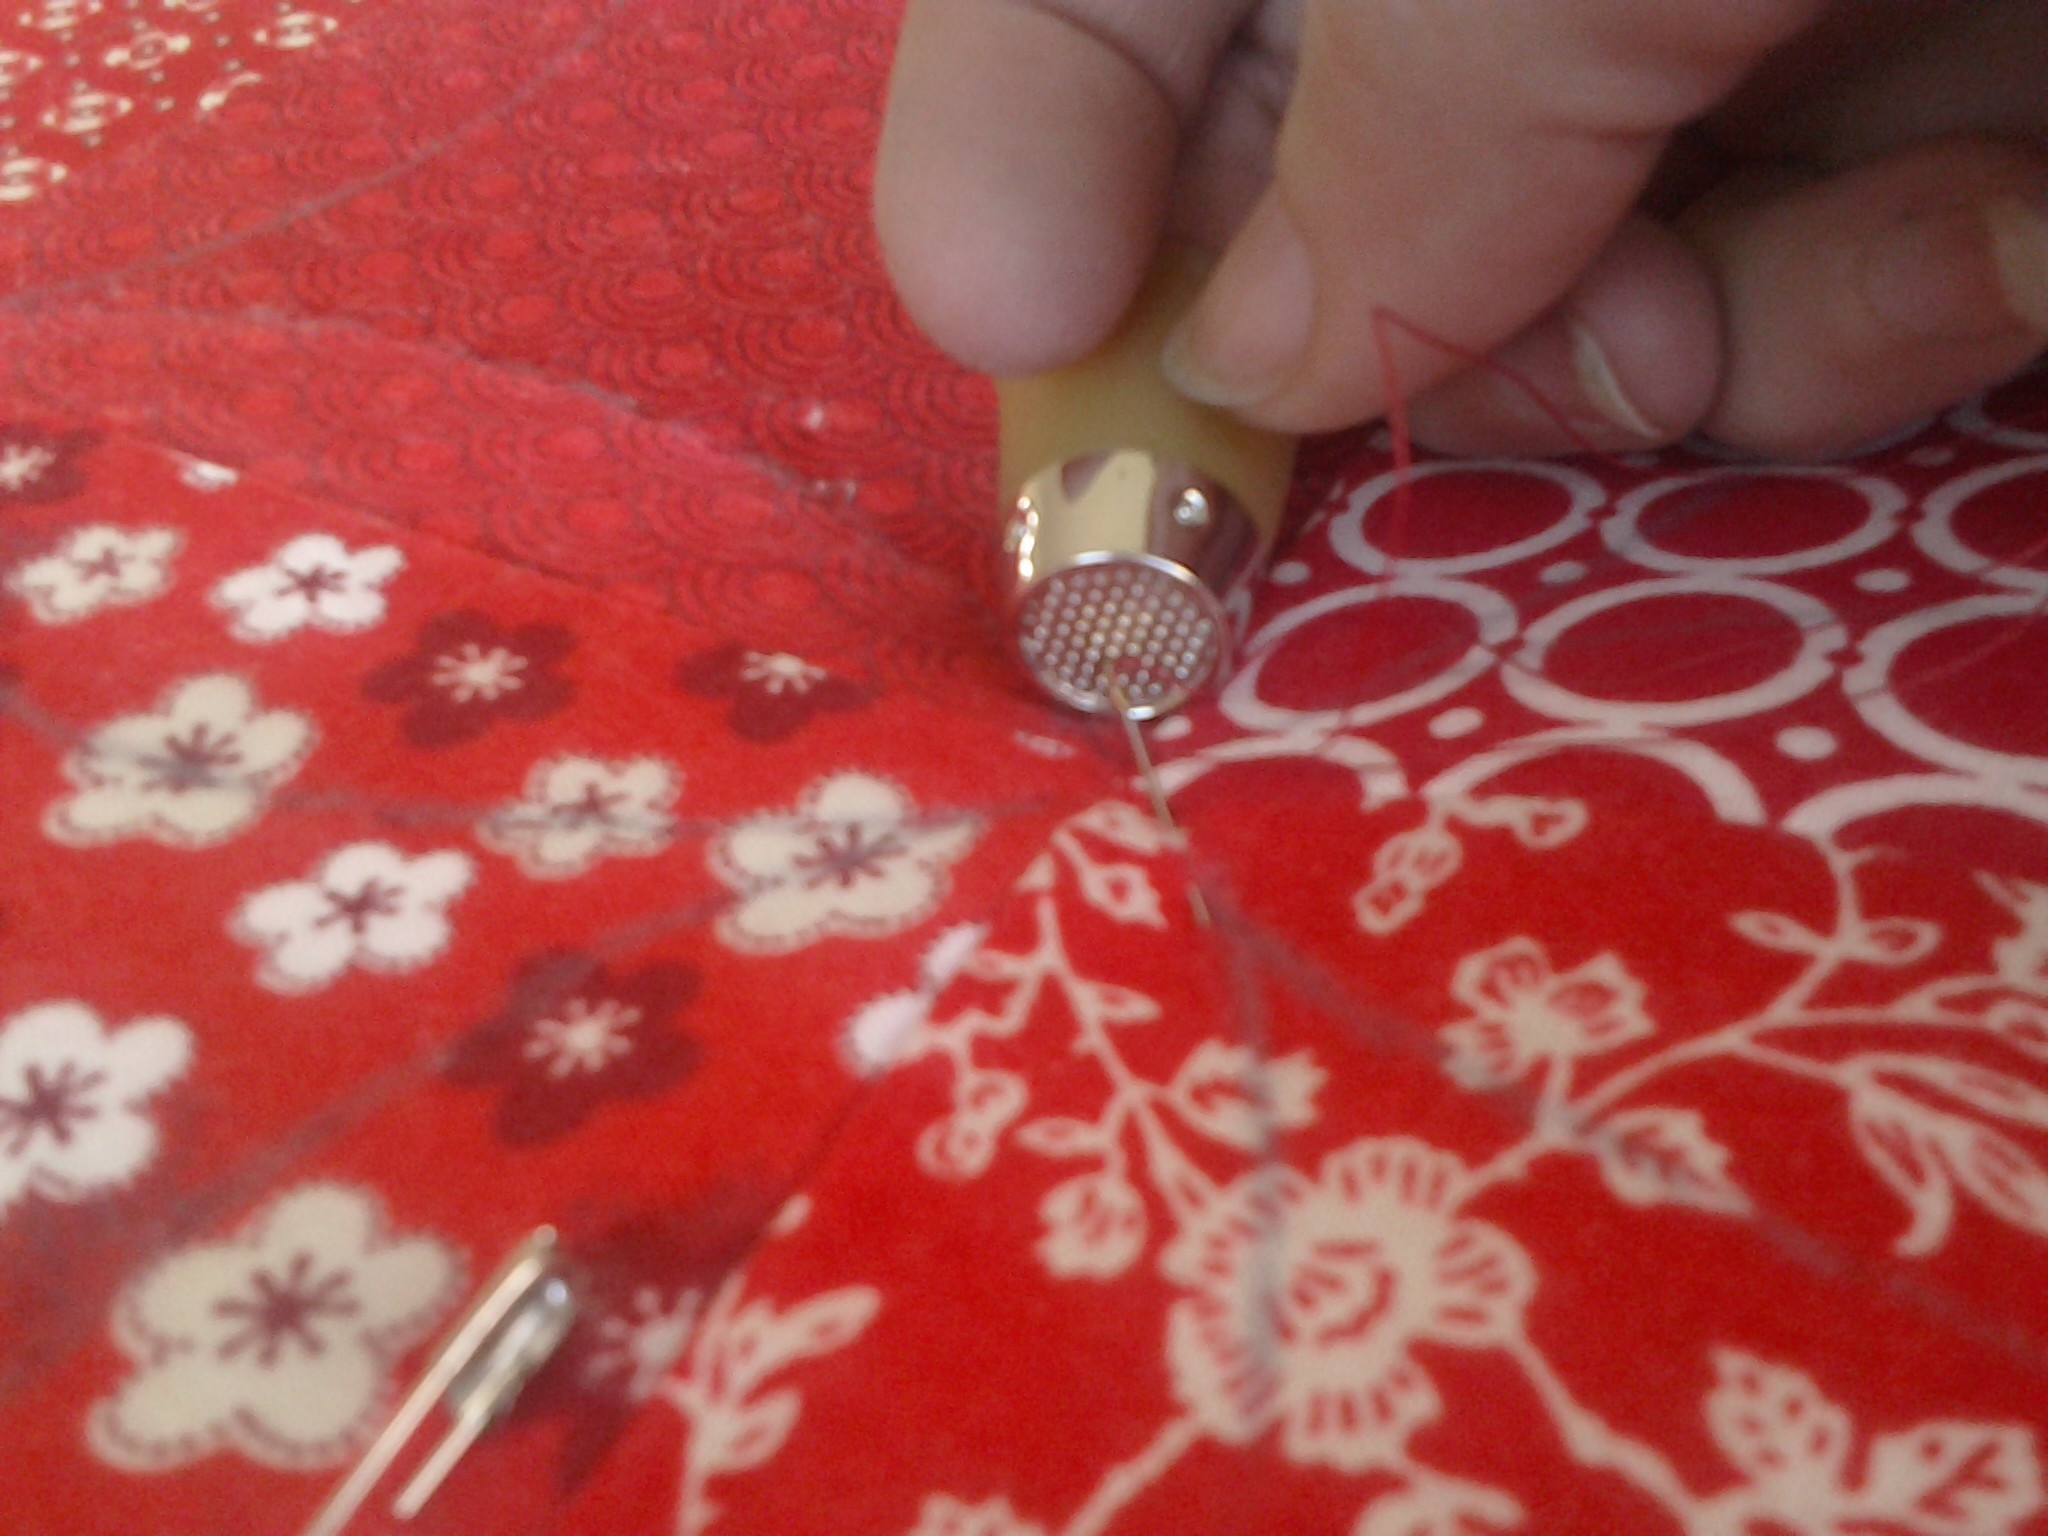
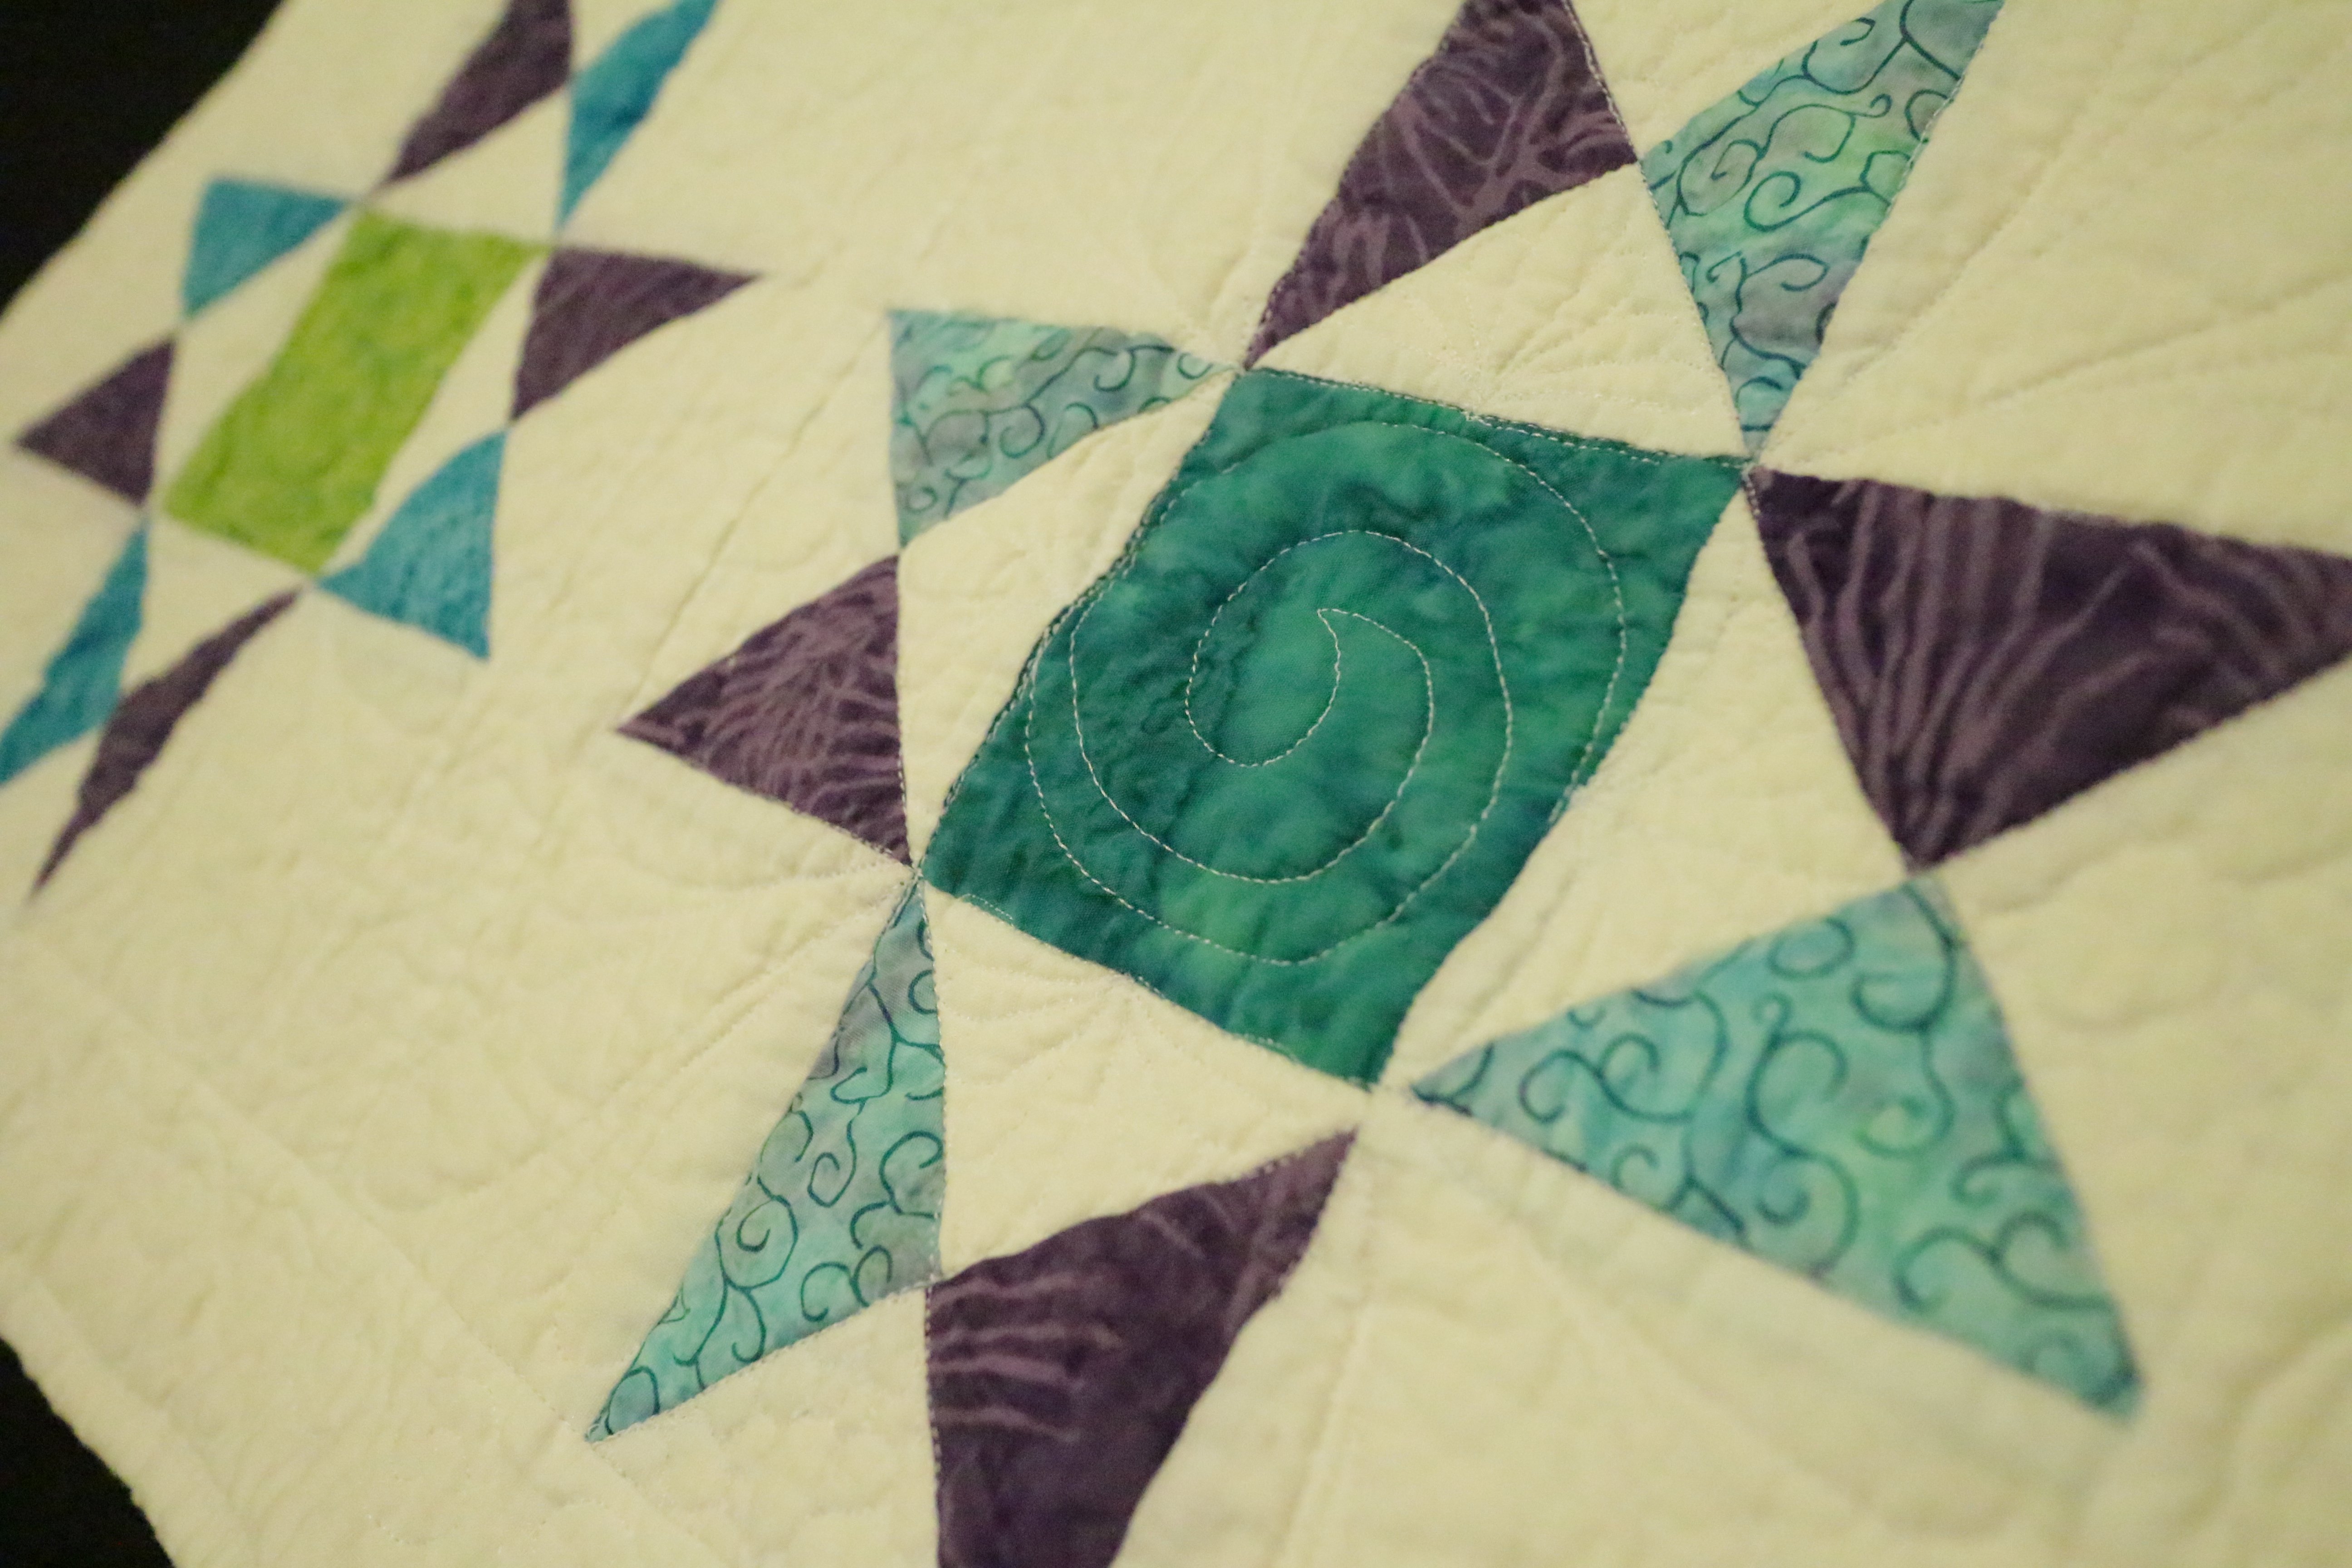
Last week, I finished hand quilting the very red quilt for my son, Benjamin. This is number five in my quest to learn how to quilt. I will share more about my previous projects in later posts.
I didn’t spend much time on making the top blocks into anything particularly interesting, but decided to spend my energies and time on the hand quilting.
I didn’t dare attempt such a large project until I had already dabbled with some hand quilting on a smaller project previously, a table runner. I enjoyed it so much, I thought I would give it a try, knowing it would be a much bigger project than I had attempted in many years. My only regret is that I didn’t use cotton/bamboo batting. Instead, I used wool, which was quite warm to work with until the weather was a bit cooler.
Here are a couple photos of the table runner I am referring to:

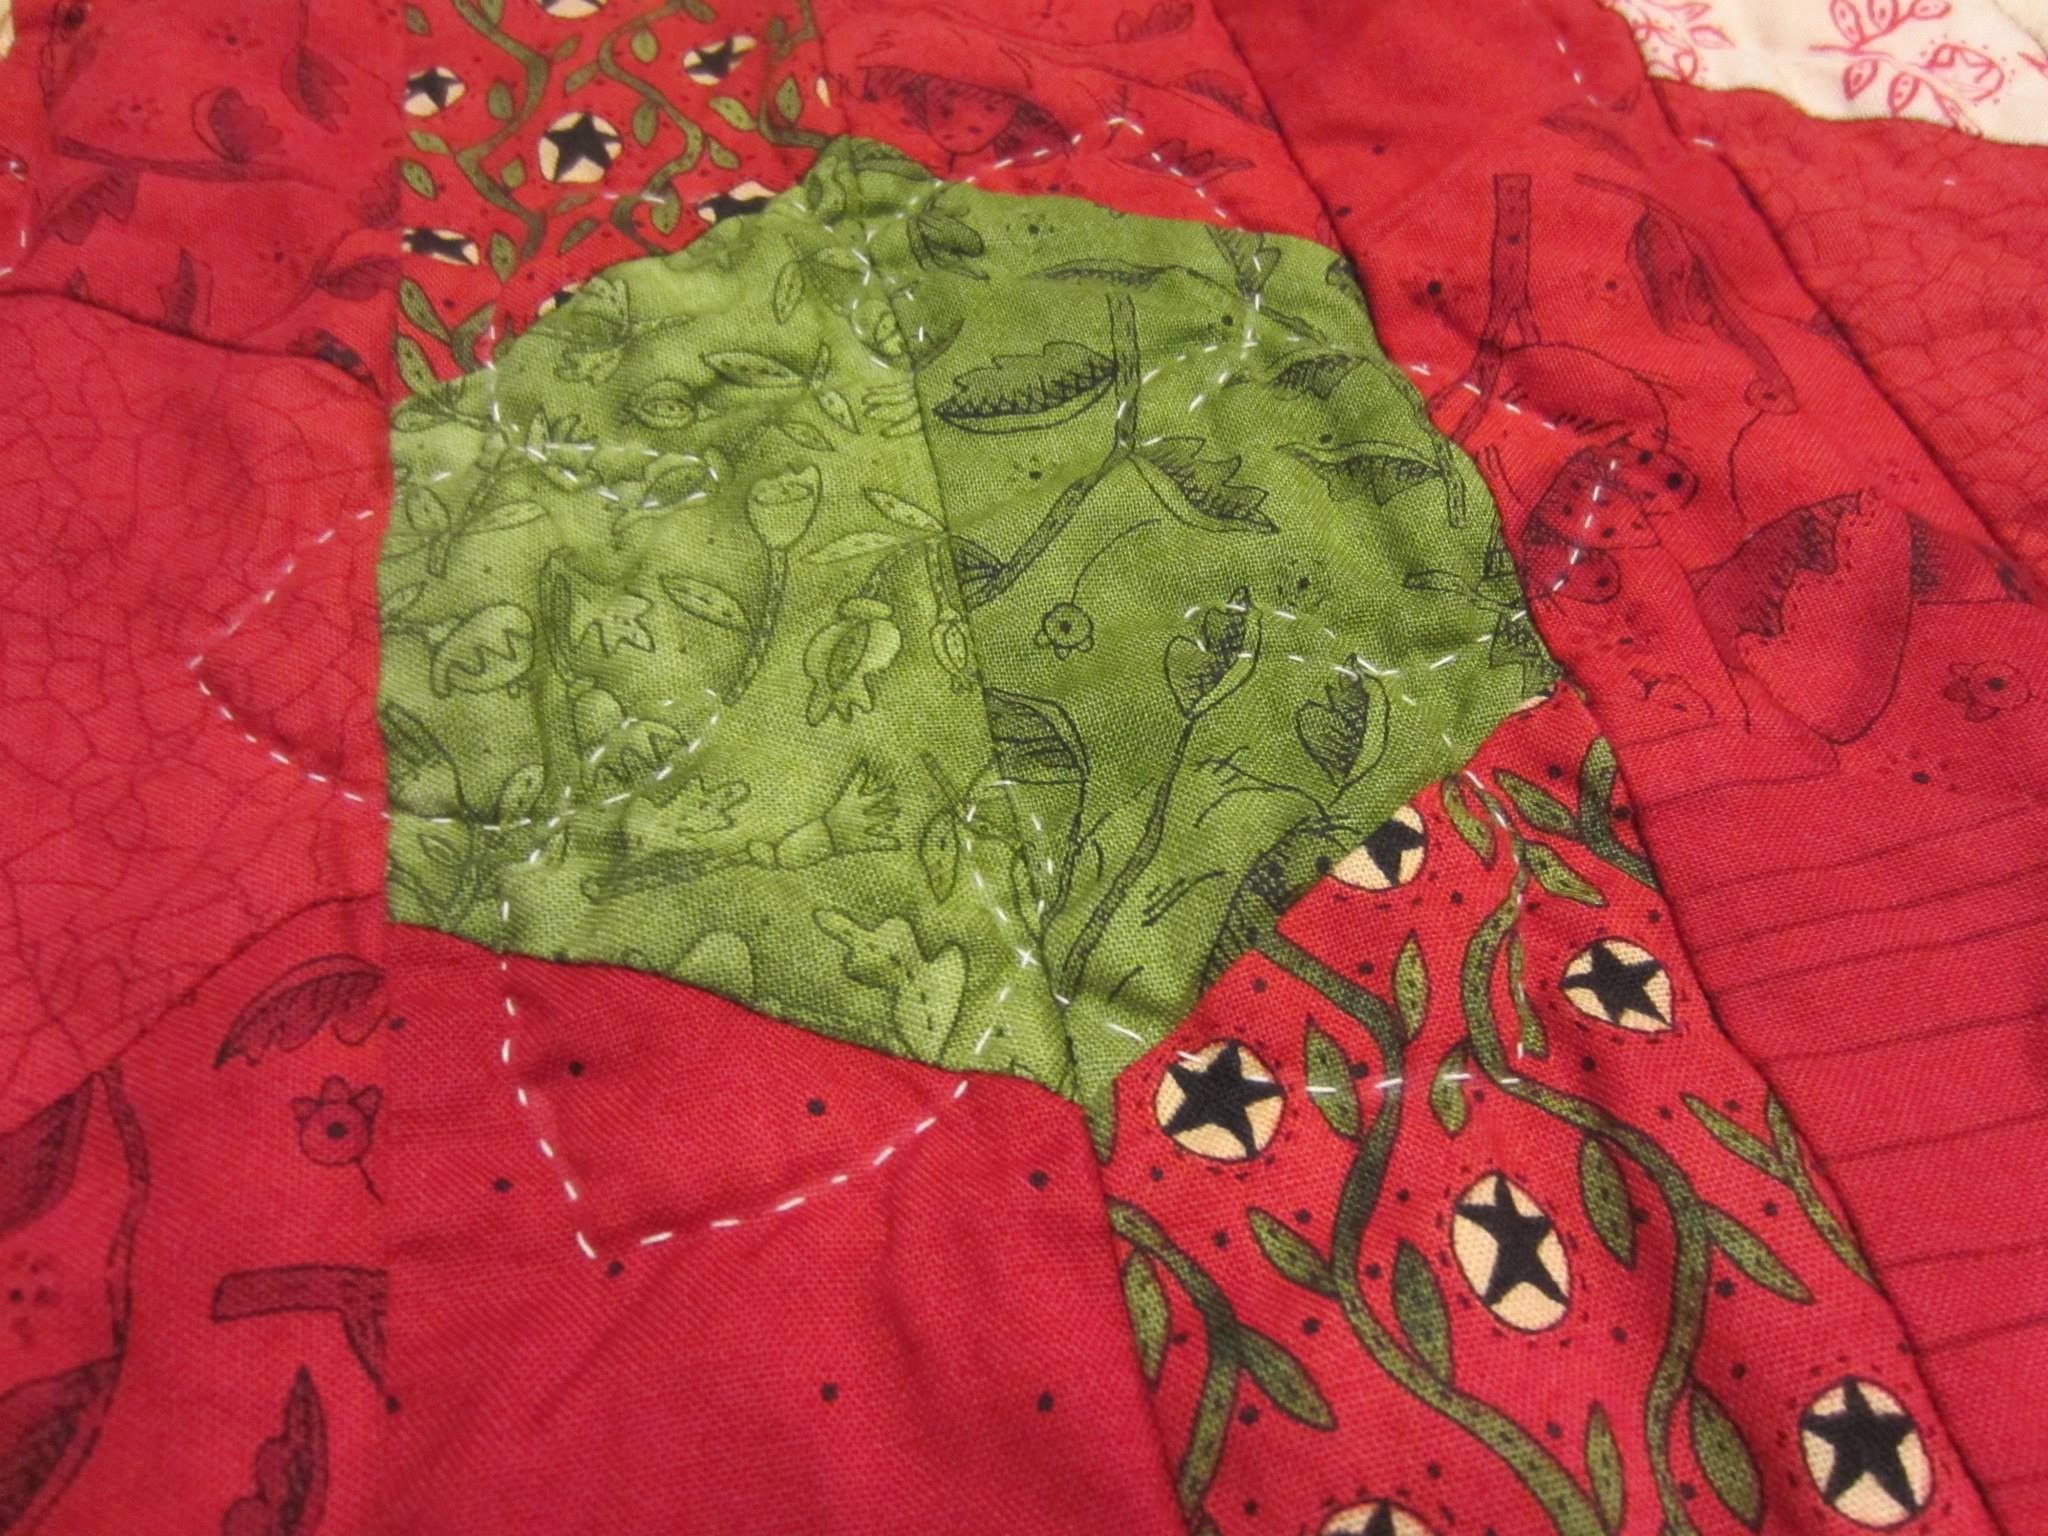

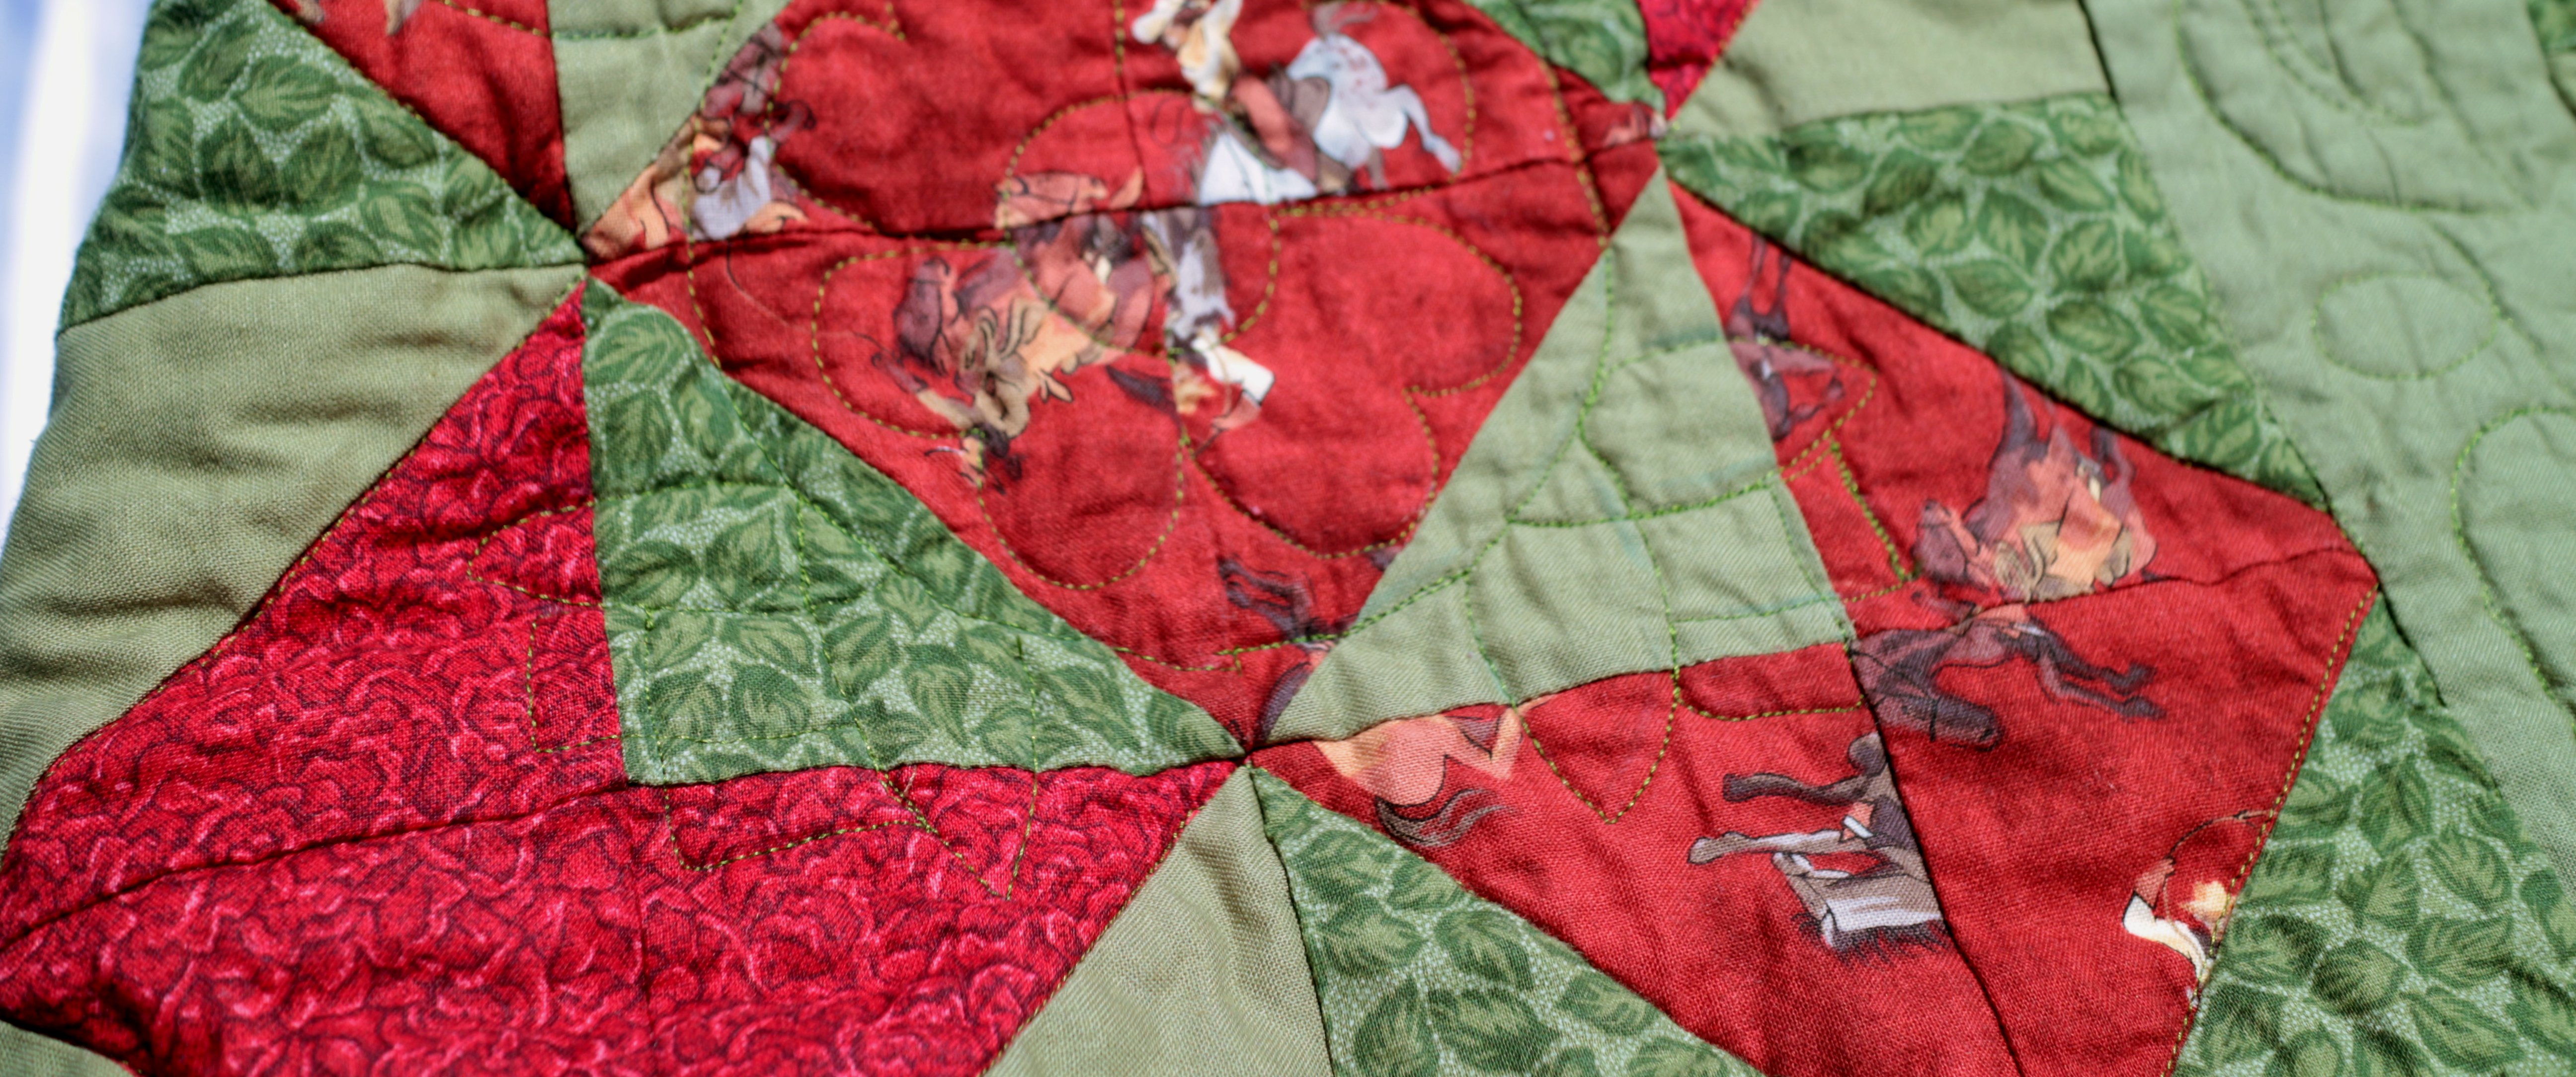
Here is an image of the back of the quilt. To make it more interesting, I used a few of the squares from the front and laid them out in a row, with space between. I used the backing for the binding. That made it simple, but looks very nice. This image is when I appliqued the square to the back.

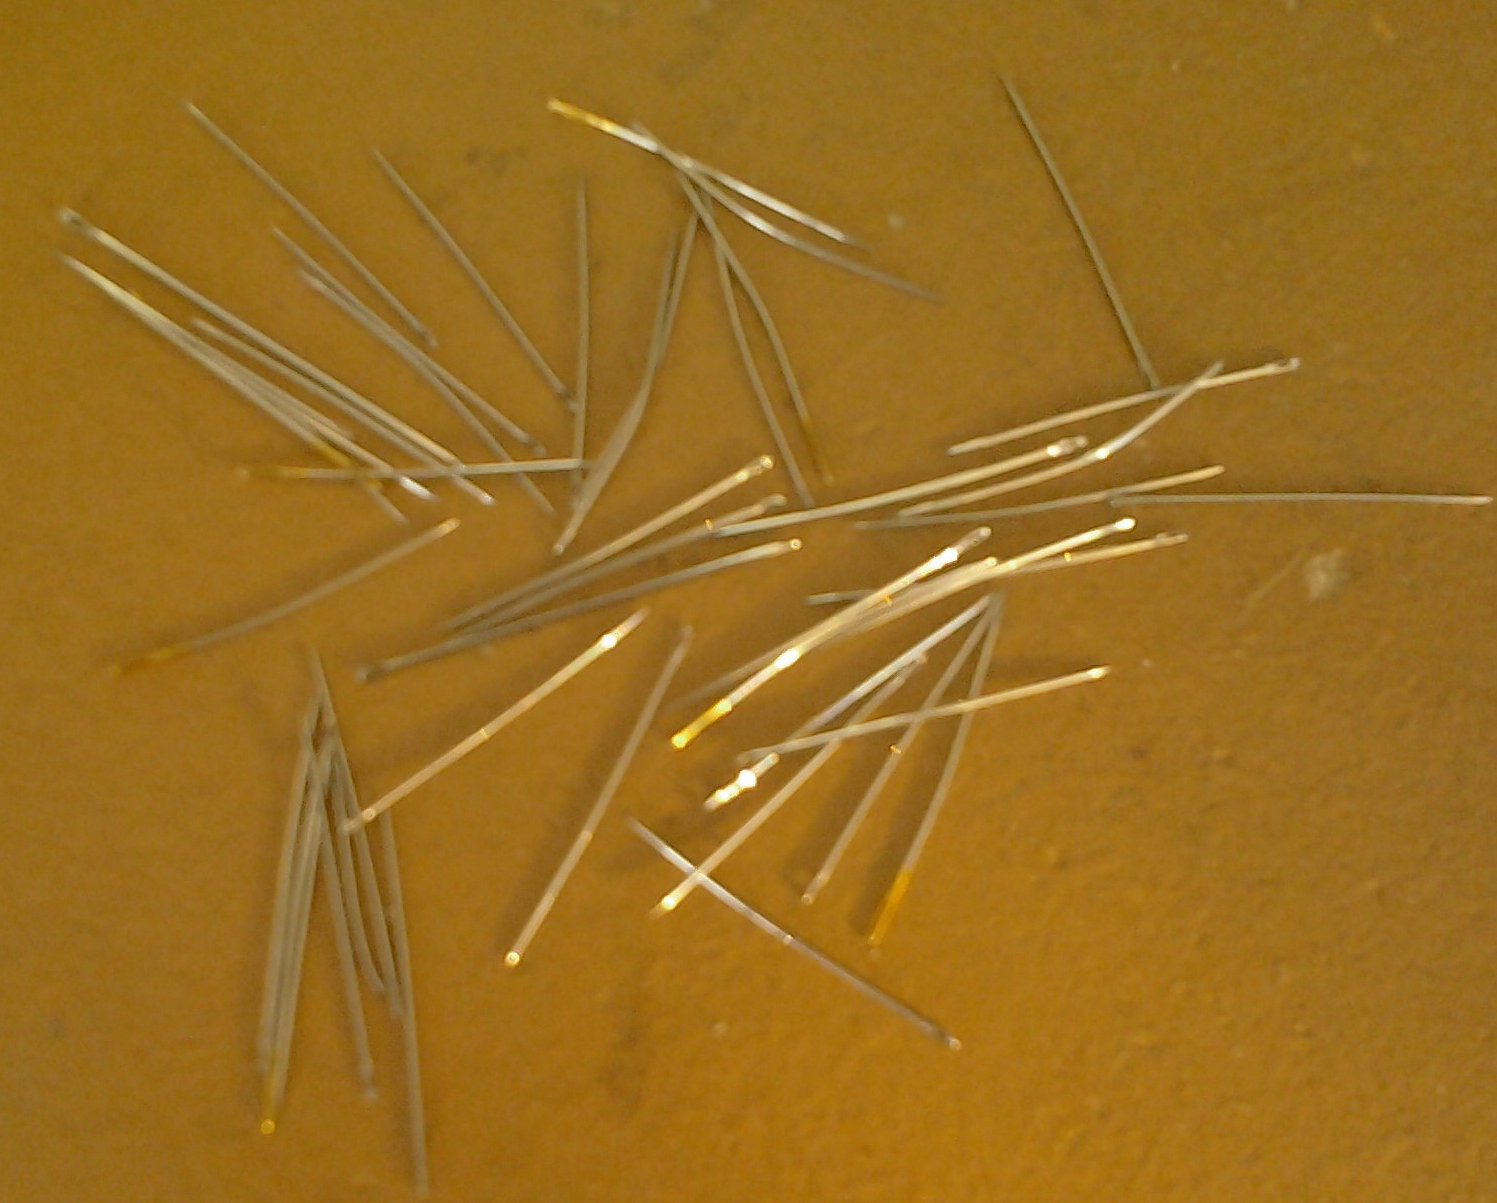
When hand quilting, one tends to go through a lot of needles, due to getting bent. I only went through a mere 120, which really isn’t a lot, compared to what many hand quilters go through.
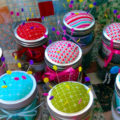
These notions were my best friends for a few months:

I also used, what is called, finger cots (not pictured) on my right thumb. They helped me to grip the needle when pulling on it to draw it out from the stitches. I don’t know what I would have done without those. The use of them was the brilliant idea of my mother-in-law.
Of all the needles I tried, my favorites are the John James Gold’n Glide Big Eye Quilting Needles, size 10.
I am starting two new projects. One is a lattice-looking quilt for one of my daughters; the other involves handwork, because I have really enjoyed that aspect. That quilt is known as Grandmother’s Garden, using hexagons. I will share about those in other post, as well.
I was pleased to hear my son’s report, after his first nights’ use of the new quilt, that it worked as it was intended.
Until next time…… 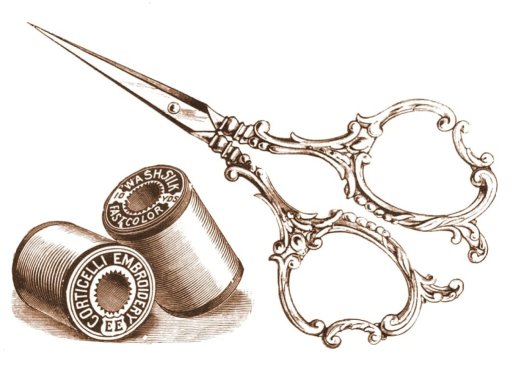

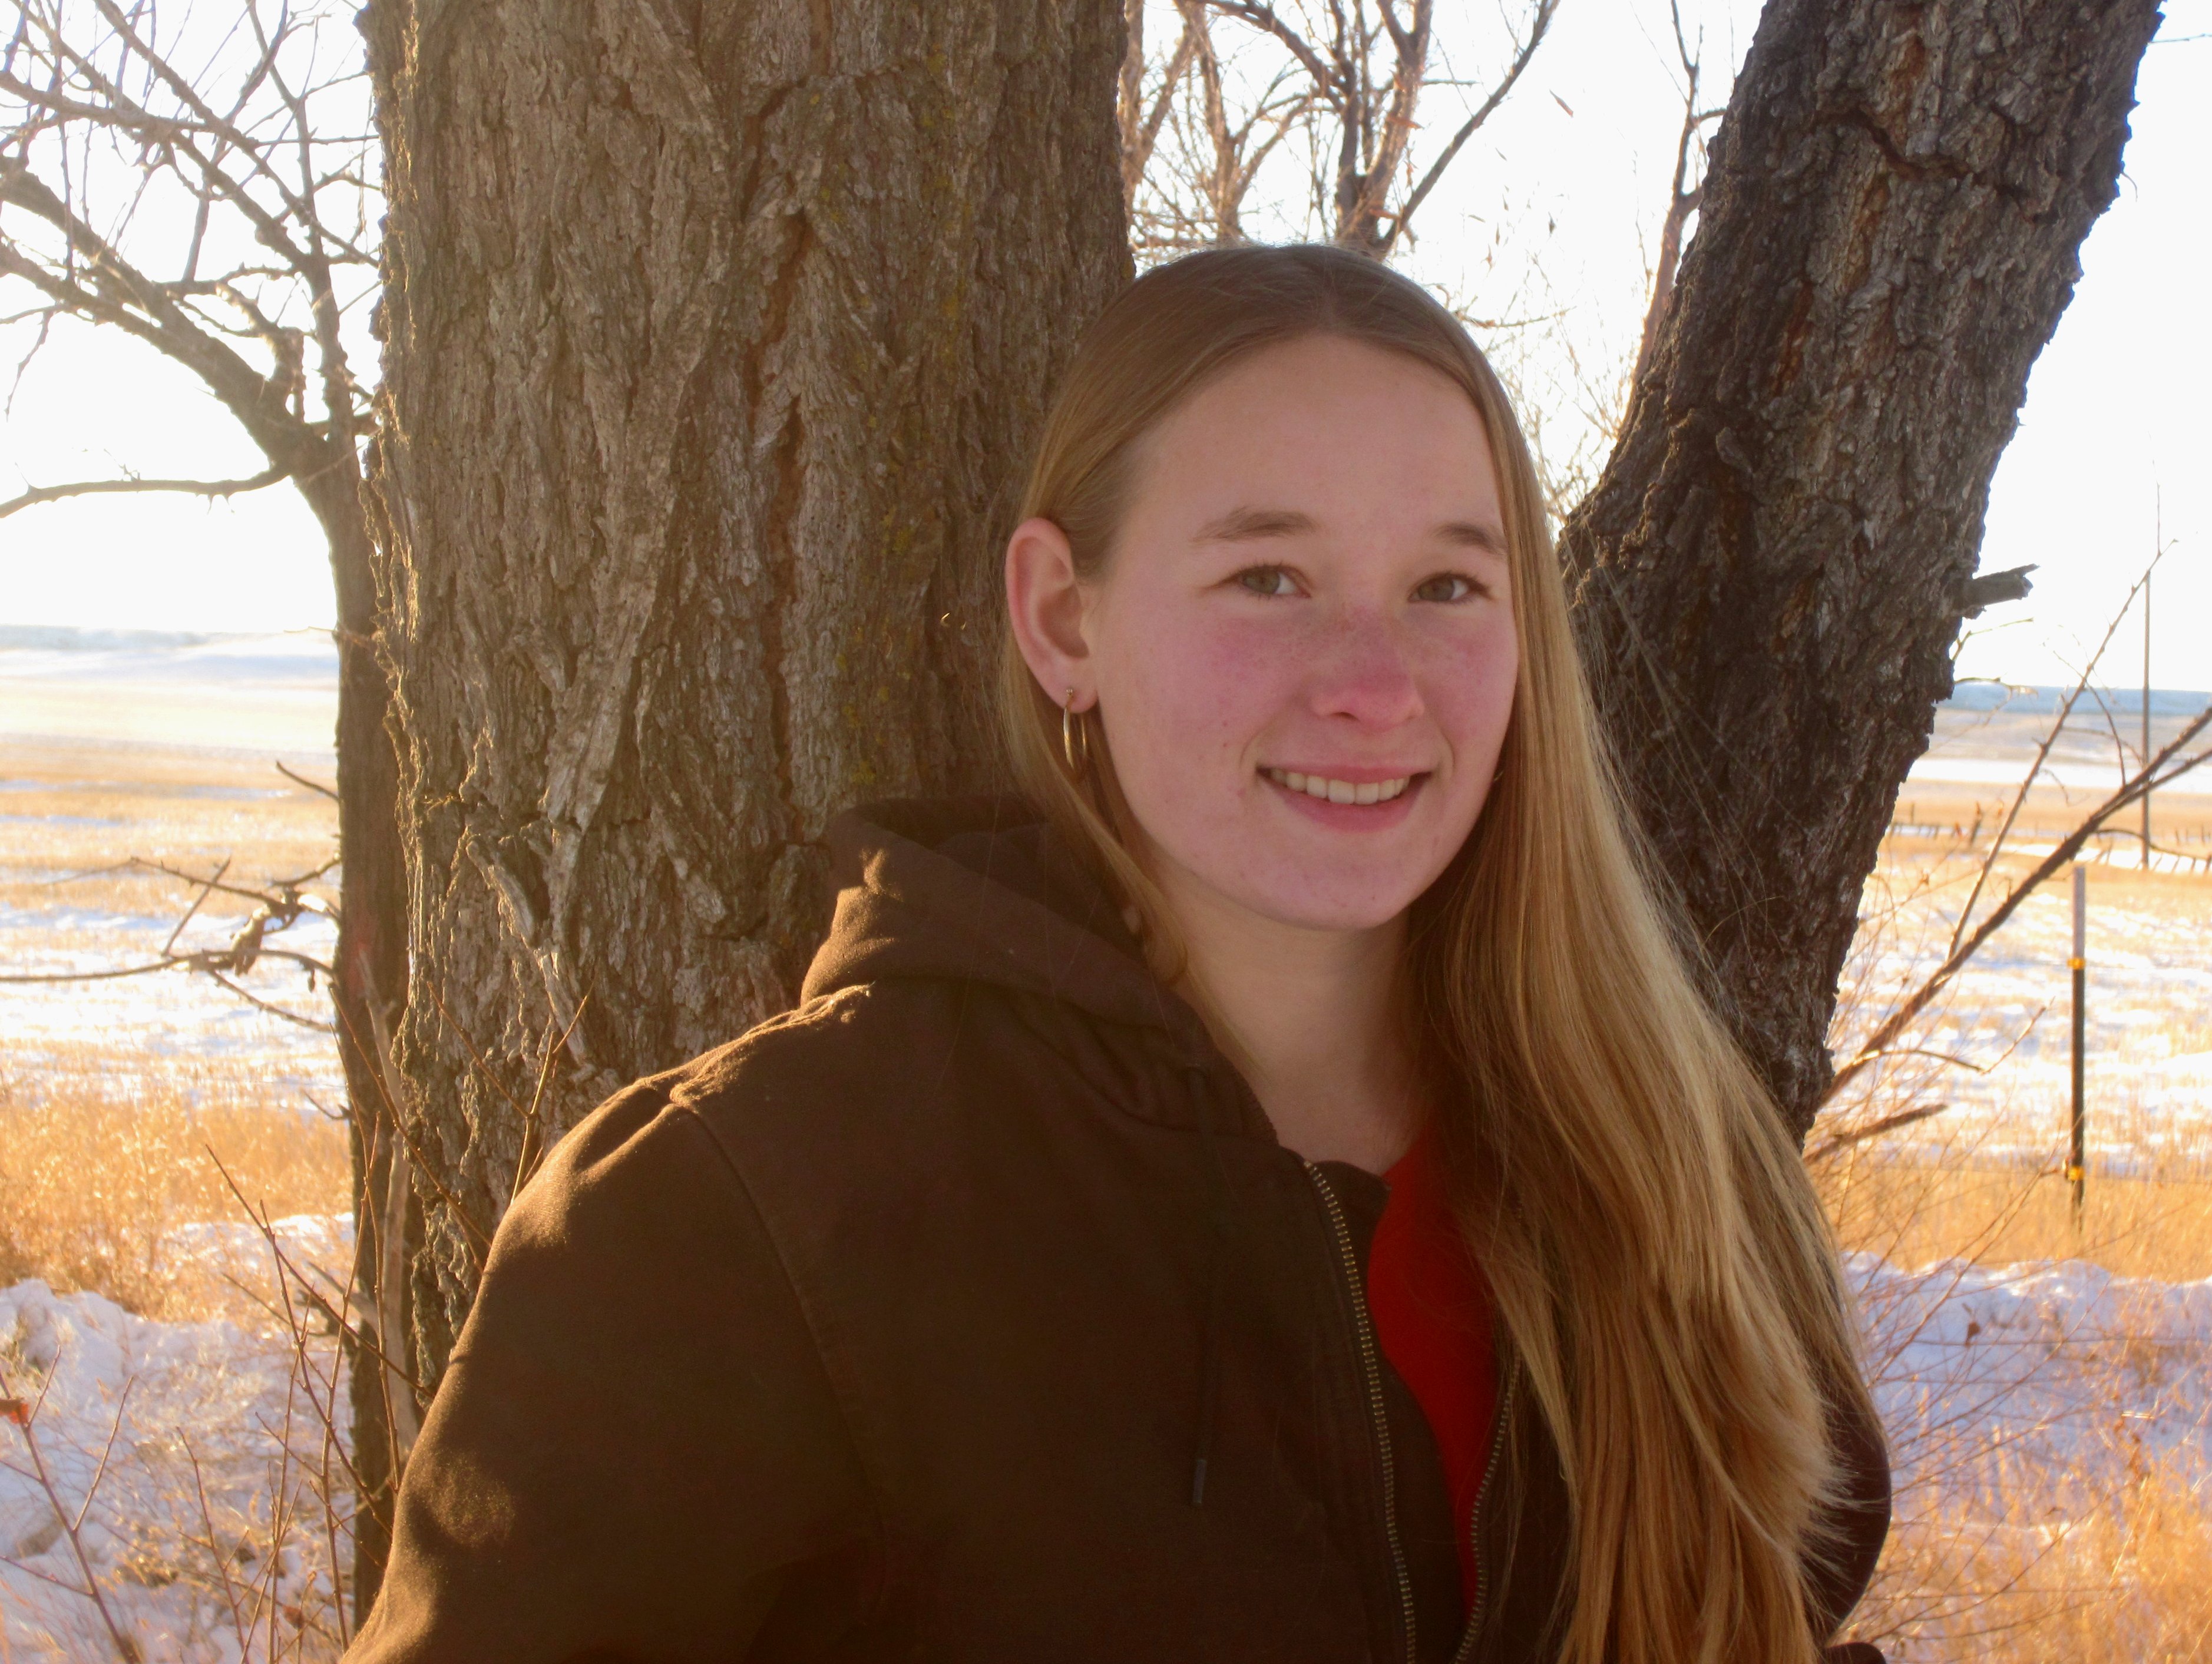
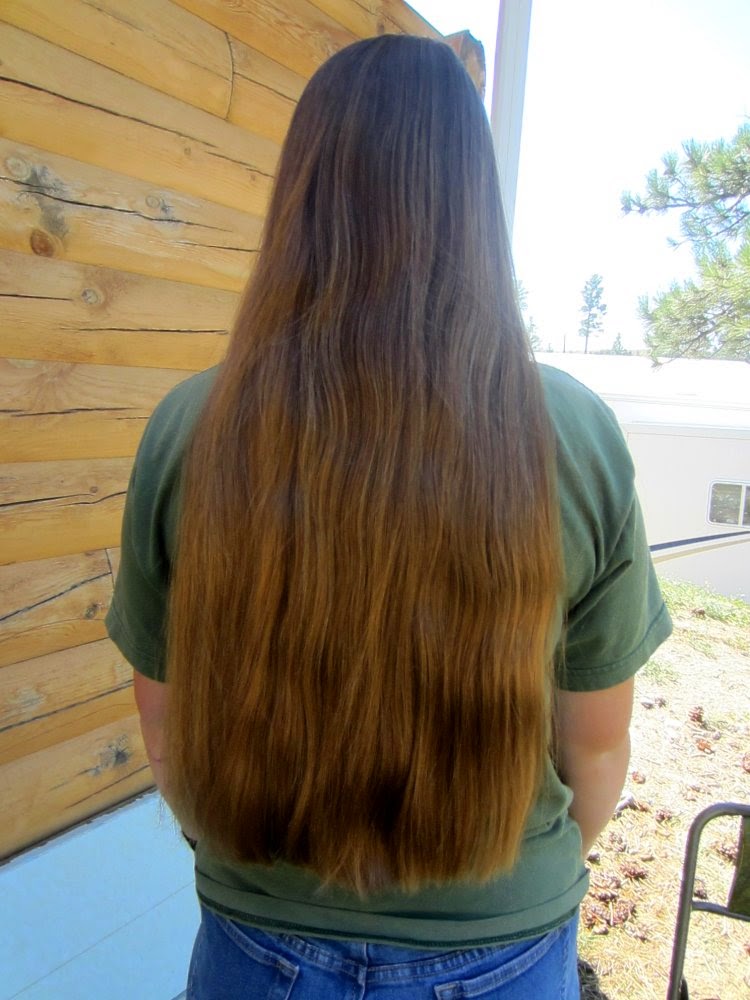
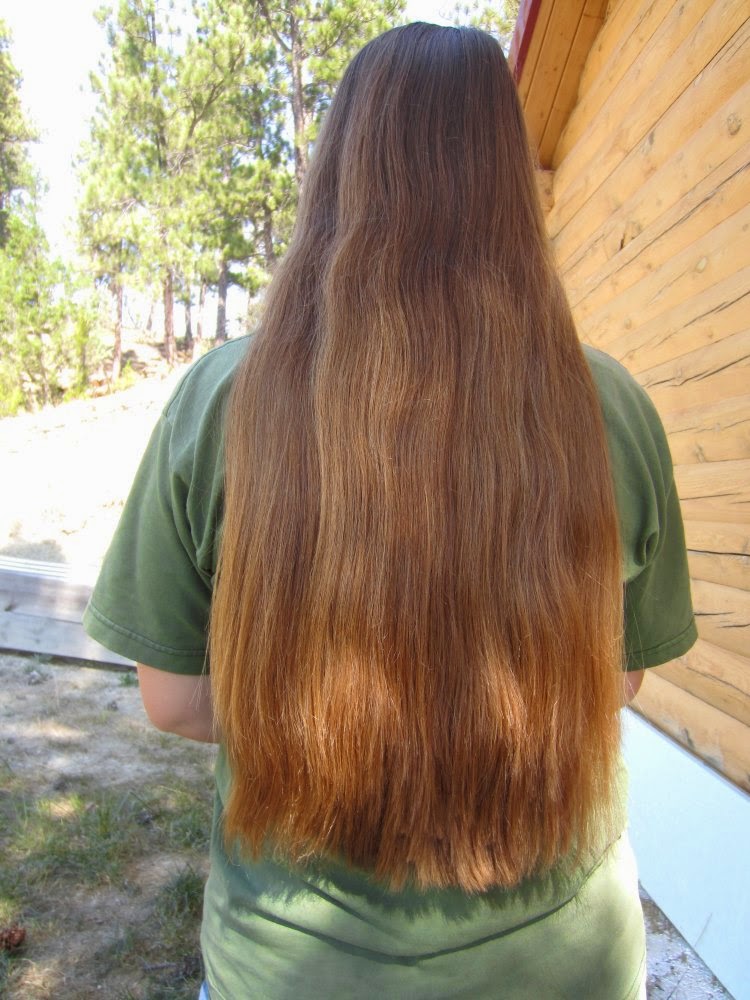
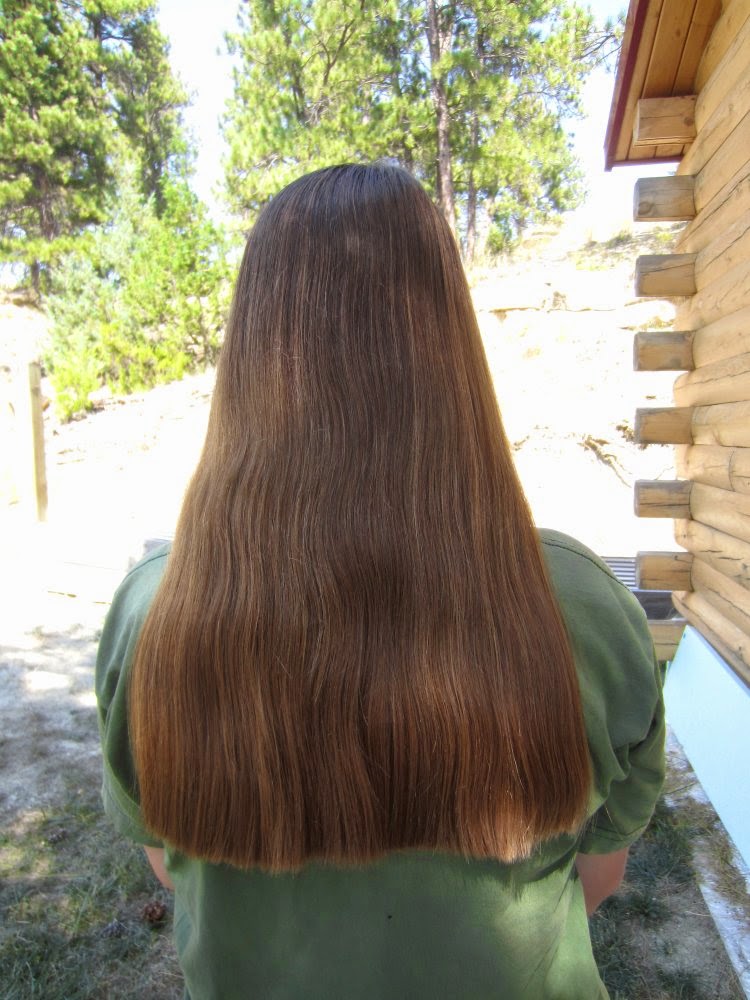
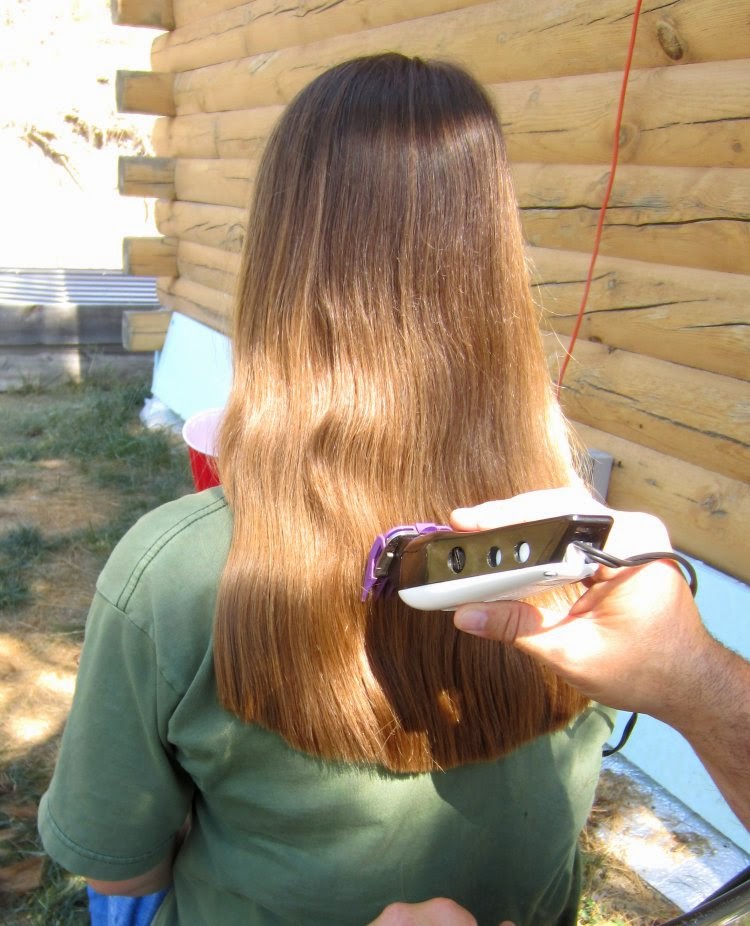
Hair Part I


Laundry Soap – DIY
 Once upon a time, we used to make our own laundry detergent, but our lives have been an upheaval for the past 3 years, so we bought Kirkland Laundry Detergent (dry powder) instead, as a matter of convenience. We have settled down now, as in we are not moving every so often, so I decided to give laundry soap making a go again.
I was very pleased with the results of the homemade laundry soap. Our towels were feeling stale even after washing and drying in the dryer with the old detergent, but now they are soft and fluffy again! As fluffy as our ancient towels can be, that is.
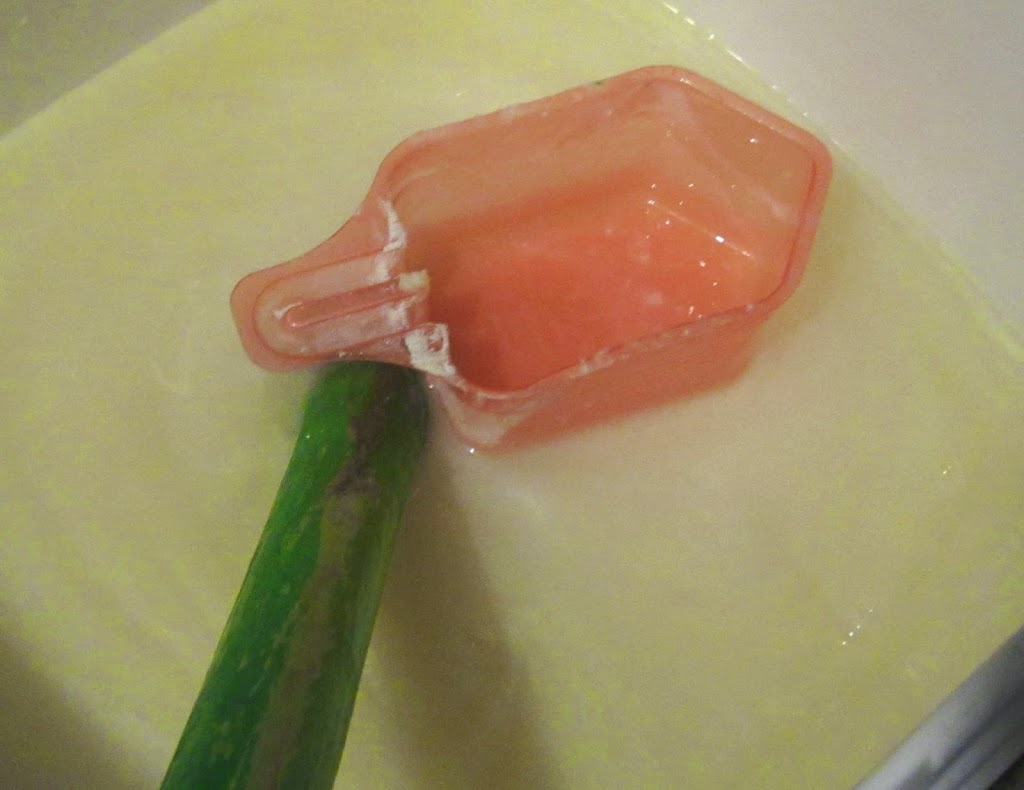 As you can see from the photos, I used 2 Kirkland Laundry Detergent buckets. The recipe makes 5 gallons, so I divided it between the two buckets and they each ended up about 2/3 full. I use a handle from an old broom for my stir stick, and the scoop from a store bought laundry soap for my scoop.
Making this soap is by no means an exact science. In addition to what the recipe calls for, I added a bottle of all-natural shampoo that we all did not like. I also added the last little bit of Kirkland Laundry Detergent.
I did not come up with this recipe on my own, but I got it from a forum (cmomb.com). I did change wording and such for what worked for me. This recipe is safe for HE washing machines.
Homemade Laundry Detergent
1 bar soap (such as Fels-Naptha, Ivory, or whatever you want.) 2 quarts water
4.5 gallons really hot tap water
1 c. Borax
1 c. Washing Soda
Grate the bar of soap with a cheese grater or food processor. Mix with 2 quarts water in a pot and gradually heat, stirring often until soap is completely dissolved. (I did have a couple larger chunks of soap that did not dissolve in the pot, but dissolved later after soaking in the solution for a week or so)
Put 4.5 gallons of really hot tap water in a 5 gallon bucket and stir in 1 c. Borax and 1 c. Washing Soda until completely dissolved.
Pour soap mixture from pot into 5 gallon bucket. Stir well.
Cover and leave overnight. Stir until smooth and pour into gallon jugs or other containers. Use 1/2 to 1 c. per load. I use 2 scoops (using the scoop pictured above) per load.
Old-Fashioned Sour Cream Doughnuts
2¼ C Cake Flour
1½ tsp Baking Powder
1 tsp Salt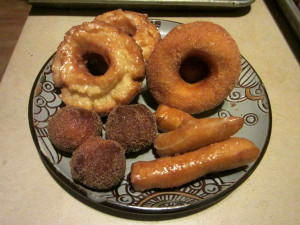
2 T Shortening
½ C Sugar
2 Egg Yolks, large
⅔ C Sour Cream
Bread Flour, for dusting
Vegetable Oil, for frying
3½ C Powdered Sugar
1½ tsp Corn Syrup
½ tsp Vanilla Extract
Approx ⅓ C Hot Water
- Sift together the cake flour, baking powder, salt and nutmeg and set aside.
- Add the shortening and sugar to the bowl of a stand mixer and mix on low until the shortening is incorporated and the sugar takes on a sandy texture.
- Add the egg yolks and increase the speed to medium, mixing just until the eggs have been incorporated and scrape the bowl.
- Alternate adding the dry ingredients and the sour cream to the mixer bowl, starting and finishing with the dry ingredients (dry, sour cream, dry, sour cream dry).
- Mix just until a sticky dough forms, scraping the bowl as needed.
- Scrape the dough into a new bowl, cover and chill in the refrigerator for at least one hour.
- During the hour, pour enough oil into a large cast iron pot (or fryer) so that the oil is several inches deep. Heat the oil to 325 degrees F.
- Mix up the glaze by combining the powdered sugar, corn syrup, vanilla and hot water and mixing well. If the glaze seems to be too thick, stir in 1 Tbsp of water at a time until you reach the desired consistency.
- Prepare a cooling rack set over paper towels or newspaper.
- Once the dough has finished chilling, liberally flour a work space with bread flour and gently roll out the dough until it is ½” thick. Use a doughnut cutter or two round cookie cutters to cut out the doughnuts and holes. Lightly score the doughnuts three times, making a triangle in the ring of the doughnut. This helps the “petals” of the doughnut to open up.
- When the oil is at 325 degrees F, carefully slide several doughnuts in scored side up. Take care not to overcrowd the pot.
- When the doughnuts float to the surface of the oil, let them cook for 15 seconds before flipping them over.
- Once flipped over, fry for 90 seconds.
- Flip the doughnuts over again so the scored side with the “petals” is now facing up and fry for another 75 seconds – until the doughnuts are nice and golden brown.
- Remove the doughnuts from the oil and set them on the rack to drain and cool slightly.
- While still warm, drip the doughnuts, petals side down, into the glaze. If a crust has formed on the glaze, be sure to stir it up first. Smoosh the doughnut around in the glaze a bit and then pick it up to let some excess glaze dribble back into the bowl.
- Return the glazed doughnut to the rack to let the glaze set up.
- Repeat the process until all doughnuts have been cooked.
- When you only have the doughnut holes left, cook them the same way, using about 75% of the frying time for each step. When they are ready to be glazed, drop a bunch in the glaze at once and shake the bowl or gently stir the holes in the glaze until the doughnut holes are fully coated. Let the excess glaze drip off of the doughnut holes and put them on the rack to set up.
http://peachesplease.com/old-fashioned-sour-cream-doughnuts/
Ooey-Gooey Cinnamon Buns
1 teaspoon white sugar
1 (.25 ounce) package active dry yeast
1/2 cup warm water (110 degrees F/45 degrees C)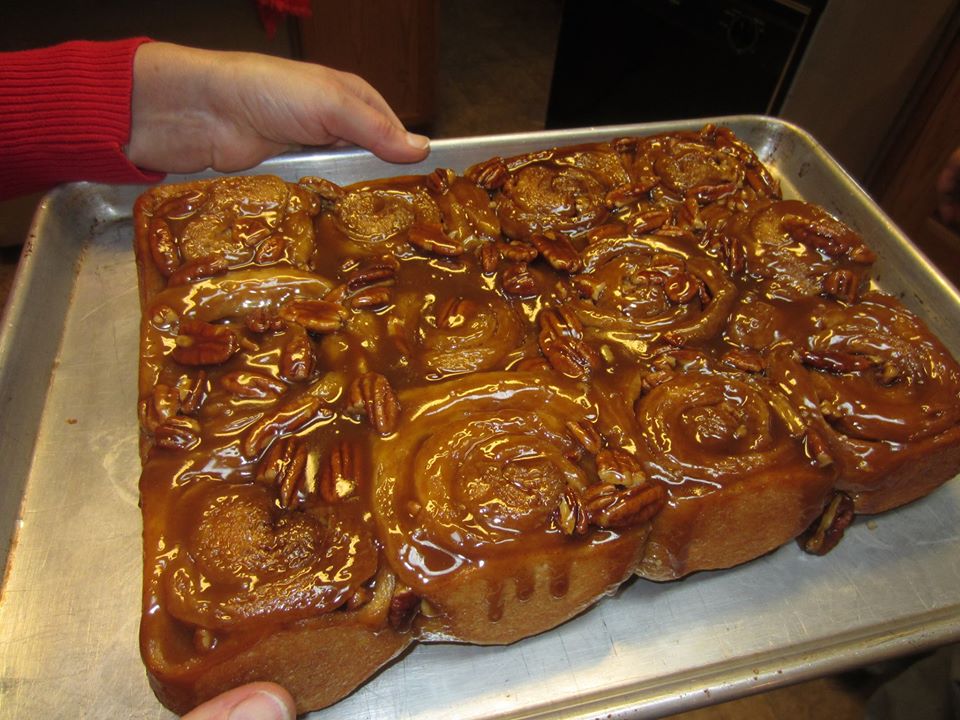
1/2 cup milk
1/4 cup white sugar
1/4 cup butter
1 teaspoon salt
2 eggs, beaten
4 cups all-purpose flour
3/4 cup butter
3/4 cup brown sugar
1 cup chopped pecans, divided
3/4 cup brown sugar
1 tablespoon ground cinnamon
1/4 cup melted butter
In a small bowl, dissolve 1 teaspoon sugar and yeast in warm water. Let stand until creamy, about 10 minutes. Warm the milk in a small saucepan until it bubbles, then remove from heat. Mix in 1/4 cup sugar, 1/4 cup butter and salt; stir until melted. Let cool until lukewarm.
In a large bowl, combine the yeast mixture, milk mixture, eggs and 1 1/2 cup flour; stir well to combine. Stir in the remaining flour, 1/2 cup at a time, beating well after each addition. When the dough has pulled together, turn it out onto a lightly floured surface and knead until smooth and elastic, about 8 minutes.
Lightly oil a large bowl, place the dough in the bowl and turn to coat with oil. Cover with a damp cloth and let rise in a warm place until doubled in volume, about 1 hour.
While dough is rising, melt 3/4 cup butter in a small saucepan over medium heat. Stir in 3/4 cup brown sugar, whisking until smooth. Pour into greased 9×13 inch baking pan. Sprinkle bottom of pan with 1/2 cup pecans; set aside. Melt remaining butter; set aside. Combine remaining 3/4 cup brown sugar, 1/2 cup pecans, and cinnamon; set aside.
Turn dough out onto a lightly floured surface, roll into an 18×14 inch rectangle. Brush with 2 tablespoons melted butter, leaving 1/2 inch border uncovered; sprinkle with brown sugar cinnamon mixture. Starting at long side, tightly roll up, pinching seam to seal. Brush with remaining 2 tablespoons butter. With serrated knife, cut into 15 pieces; place cut side down, in prepared pan. Cover and let rise for 1 hour or until doubled in volume. Meanwhile, preheat oven to 375 degrees F (190 degrees C).
Bake in preheated oven for 25 to 30 minutes, until golden brown. Let cool in pan for 3 minutes, then invert onto serving platter. Scrape remaining filling from the pan onto the rolls.
http://allrecipes.com/recipe/ooey-gooey-cinnamon-buns/detail.aspx?src=VD_Summary
Beth’s Doughnuts
Beth’s Doughnuts
2 TBSP yeast
1/4 cup very warm water
1/2 cup sugar
1/4 cup butter
1 teaspoon salt
1 cup hot milk
2 eggs
4 – 4 1/2 cups sifted flour
In a large bowl, stir the yeast into the very warm water. Take your 1/3 c. sugar and spill some in with your yeast, about a TBSP. Stir yeast mixture. Set aside.
Take your hot milk and put it in a medium bowl. (I use the 8 c. measuring cup for a doubled recipe, or the 4 c. measuring cup for a single batch, and it leaves plenty of room.) Stir in the rest of your sugar, and your salt, and butter. Stir until butter melts. If your milk isn’t hot enough, scoop the butter out and melt it in the microwave. Cool the milk mixture to where you can stick your finger in for awhile and not have it uncomfortably warm. In a small bowl, beat your egg. Add it to the milk mixture. (If the milk mixture isn’t quite cool enough, the egg will cool it down enough so it won’t kill your yeast.)
Add the milk mixture to the yeast mixture and stir. Beat 3 cups of sifted flour in, one cup at a time. Add another cup and start kneading in your bowl. You may or may not need the last 1/2 c. flour. After kneading the dough until soft, not sticky, put into a large, greased bowl. Turn over once to get both sides greased. Cover and set to rise until double, about 1 1/4 – 1 1/2 hours.
Punch dough and knead a few times till all smooth again. Cut into circles with the middles cut out, or whatever shape you want them in. Gently slip into hot oil, and deep fry until both sides are golden.