Peppermint Mocha Coffee Creamer (S)
I found a Peppermint Mocha Coffee Creamer recipe recently, that I really like, at Alaska From Scratch. I made a change or two to the recipe to make it perfect for a THM S coffee creamer!
Peppermint Mocha Creamer

1c. water
5 1/2 T Truvia
1/2 t cocoa powder
1/2 t vanilla
1/4 t peppermint extract
1 c almond milk
1 c. heavy cream
the mixture is still hot or else the cocoa will clump), followed by the vanilla and peppermint. Allow the mixture to cool 5-10 minutes and then add the almond milk and cream. Stir well.
The perfect cookie to serve with this would be the Not-So-Oatmeal Chocolate Chip Cookies from Mrs. Criddles Kitchen. They have a really good texture. I have a hard time staying out of them when they are around! They are best cooled completely. You get the best texture that way, in my opinion.

Herb Gardening
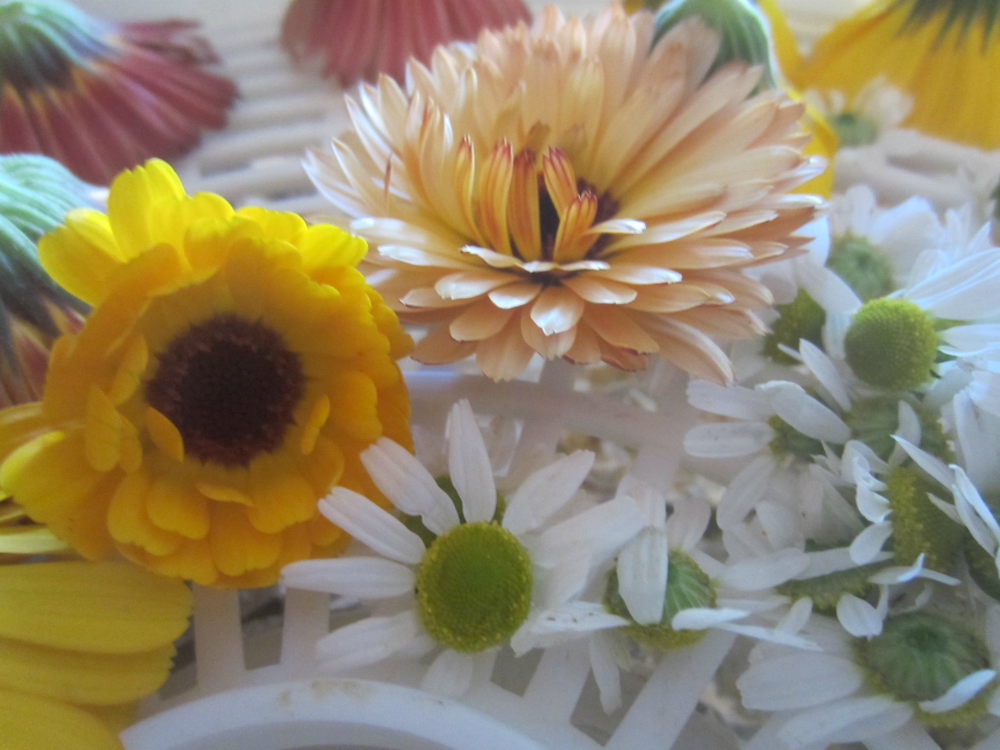 |
| Clockwise from top: C. Zeolights, Chamomile, C. Resina |
My first attempt at herb gardening was about 5 years ago. We had just had some horse manure put on our garden. Unfortunately, it was still a bit hot, so none of my herbs came up.
My second attempt at herb gardening was this year. We were excited to be gardening again after so many years of not being able to due to busy-ness and moving/renting. With the new place we are living, and all the water here, I was able to have my own herb garden separate from the vegetable garden. I planted German Chamomile, Soapwort, Calendula Zeolights, and Calendula Resina.
My plants were a little slow to pop up. I direct sowed them in mid May. Since our first snow that was mid September, they have all, except the Soapwort, really thrived. We have had a lot of warm weather too, but the cold snaps have really encouraged the plants. I have been drying my harvest in the dehydrator. Barely any Soapwort came up. 3 seeds sprouted in the planter I had set in my garden, and one seed sprouted in the ground. They are all about 4 inches tall.
 What have I learned from this years planting?
- Move the location of my herb garden. It is currently located right next to the ditch that the sewer just so happens to run off into in the middle of the summer. It gives off a rather… unpleasant smell that Chamomile just doesn’t quite cover up.
- Plant more. I ended up having not quite as much plants as I wanted, consequently, not as much harvest as I wanted.
- If I don’t want an ‘ugly’ garden, need to have more time spent with upkeep.
Next year, hopefully, I will not be as busy away from my garden so that I can spend a little more time with it. I also plan on doing much more variety and being a little more extravagant. I will also try different drying methods. I have yet to decide the new location. 😉
I bought my seeds from Southern Exposure. I really like the variety of seeds they have in organic. Their catalog is beautiful. The biggest downfall in my opinion is their seed packaging. The only seed specific information they have is the name and little bit of info like a date, lot number, how many grams it is, and a percentage (I am guessing the germination percentage?) printed on the front. Otherwise, the planting instructions are very generic and they do not have a picture of the seedling, which when you have plenty of weeds is quite helpful if you have never planted that specific seed. Overall, I would definitely buy from them again. Their service was as would be expected. The seeds got to us on time. Nothing was amiss.
The Country Rose’s Yeast Doughnuts (And More)
I made doughnuts the other day. Really good doughnuts, if I dare say so myself! My family agreed. 😉 I have made yeast doughnuts in the past from various recipes, but they never turned out, in my opinion. They never had the right taste or texture. My family thought they were fine, but I guess I am picky. Especially when I am the cook. Below is the recipe that I came up with that I am finally satisfied with. I should add these are NOT THM.
I was also really wanting Old-Fashioned Sour Cream Doughnuts, not just yeast doughnuts. I ‘searched the world over’ and I found true love! I found this amazing recipe at Peaches Please. One thing I did not like about the recipe was the nutmeg. I have never been fond of nutmeg. I, instead of nutmeg, used 1 tsp. vanilla.
Those fingers in the picture are supposed to be cruellers. The recipe wasn’t particularly impressive. The dough was too stiff to shape like they suggested, so we just went the easy route and made fingers.
 The Country Rose’s Yeast Doughnuts
2 TBSP yeast
1/4 cup very warm water
1/2 cup sugar
1/4 cup butter
1 teaspoon salt
1 cup hot milk
2 eggs
4 – 4 1/2 cups sifted flour
In a large bowl, stir the yeast into the very warm water. Take your 1/2 c. sugar and spill some in with your yeast. Stir yeast mixture. Set aside.
Take your hot milk and put it in a medium bowl. Stir in the rest of your sugar, and your salt, and butter. Stir until butter melts. If your milk isn’t hot enough, scoop the butter out and melt it in the microwave. Cool the milk mixture to where you can stick your finger in for awhile and not have it uncomfortably warm. In a small bowl, beat your egg. Add it to the milk mixture. (If the milk mixture isn’t quite cool enough, the egg will cool it down enough so it won’t kill your yeast.)
Add the milk mixture to the yeast mixture and stir. Beat 3 cups of sifted flour in, one cup at a time. Add another cup and start kneading in your bowl. You may or may not need the last 1/2 c. flour. After kneading the dough until soft and barely sticky, put into a large, greased bowl. Turn over once to get both dough sides greased. Cover and set to rise until double, about 1 1/4 – 1 1/2 hours. (Be sure to not let it over rise. If you end up having to wait longer than the rising time before dealing with it, punch it every 1/2- 1 hours.)
Punch dough and knead a few times till all smooth again. Cut into circles with the middles cut out, or whatever shape you want them in. Gently slip into hot oil and deep fry until both sides are golden and the middle is cooked. I don’t have any set temperature to bring your oil to. Just takes a little practice. You want it so when you put your doughnut in, the grease bubbles all over the doughnut. You don’t want it to brown too quickly, or the inside won’t be cooked. Shake in cinnamon sugar mixture, glaze, or frost with your choice of frosting. Enjoy!
Pumpkin Shake (S)
Mom asked me last night to make her a pumpkin milkshake. She had a pumpkin frappe at Starbucks last week that she really enjoyed. This is the recipe that I came up with. We are eating Trim Healthy Mama style, so this would be a THM ‘S’. Sorry about the bad pictures. I am not a talented food photographer.
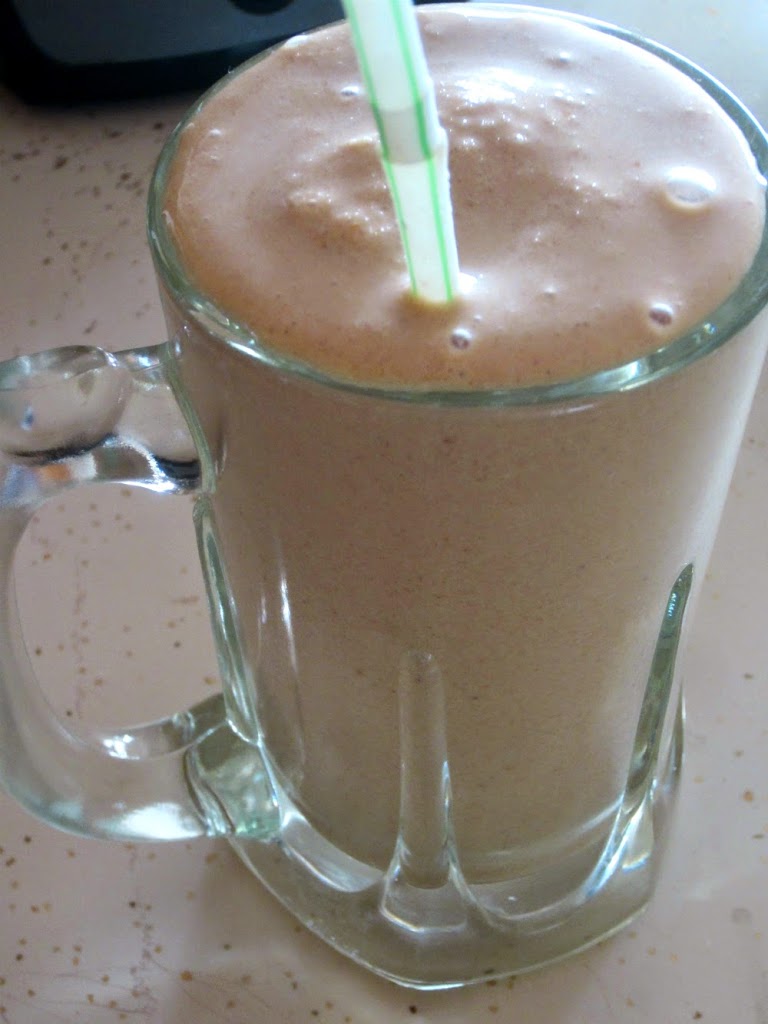
Pumpkin Shake (or Frappe) (S)
1/2 c. cottage cheese
1 c. unsweetened almond milk (or cooled, strong coffee)
2 TBSP. whipping cream
1 tsp. vanilla
2 TBSP Truvia
3 scoops stevia (I used KAL brand stevia. It comes with a little scoop that I use. For frappe version, do an extra scoop)
3/4 tsp. cinnamon
1 or 2 pinches cloves
1/2 tsp. ginger
1/4 tsp. nutmeg
1/8 tsp. glucomannan
2 TBSP pumpkin puree
Ice (roughly 1 – 2 cups)
Blend all your ingredients, except ice, together until fairly smooth. Add ice and blend until smooth. If you do not like strong flavors, try less spices to start with.


This is our Hereford heifer, Pumpkin. We got her a couple days ago. I thought it appropriate to include her in this post because of her name. 🙂

Peanut Butter Balls from Aunt Faith
3 cups chunky peanut butter
3 cups powdered sugar
1 cube marg, melted
3 cups rice krispies
Mix all ingred together really well. Roll into balls. Dip each one in
dipping chocolate. I use “meltys” but any dipping choc will do
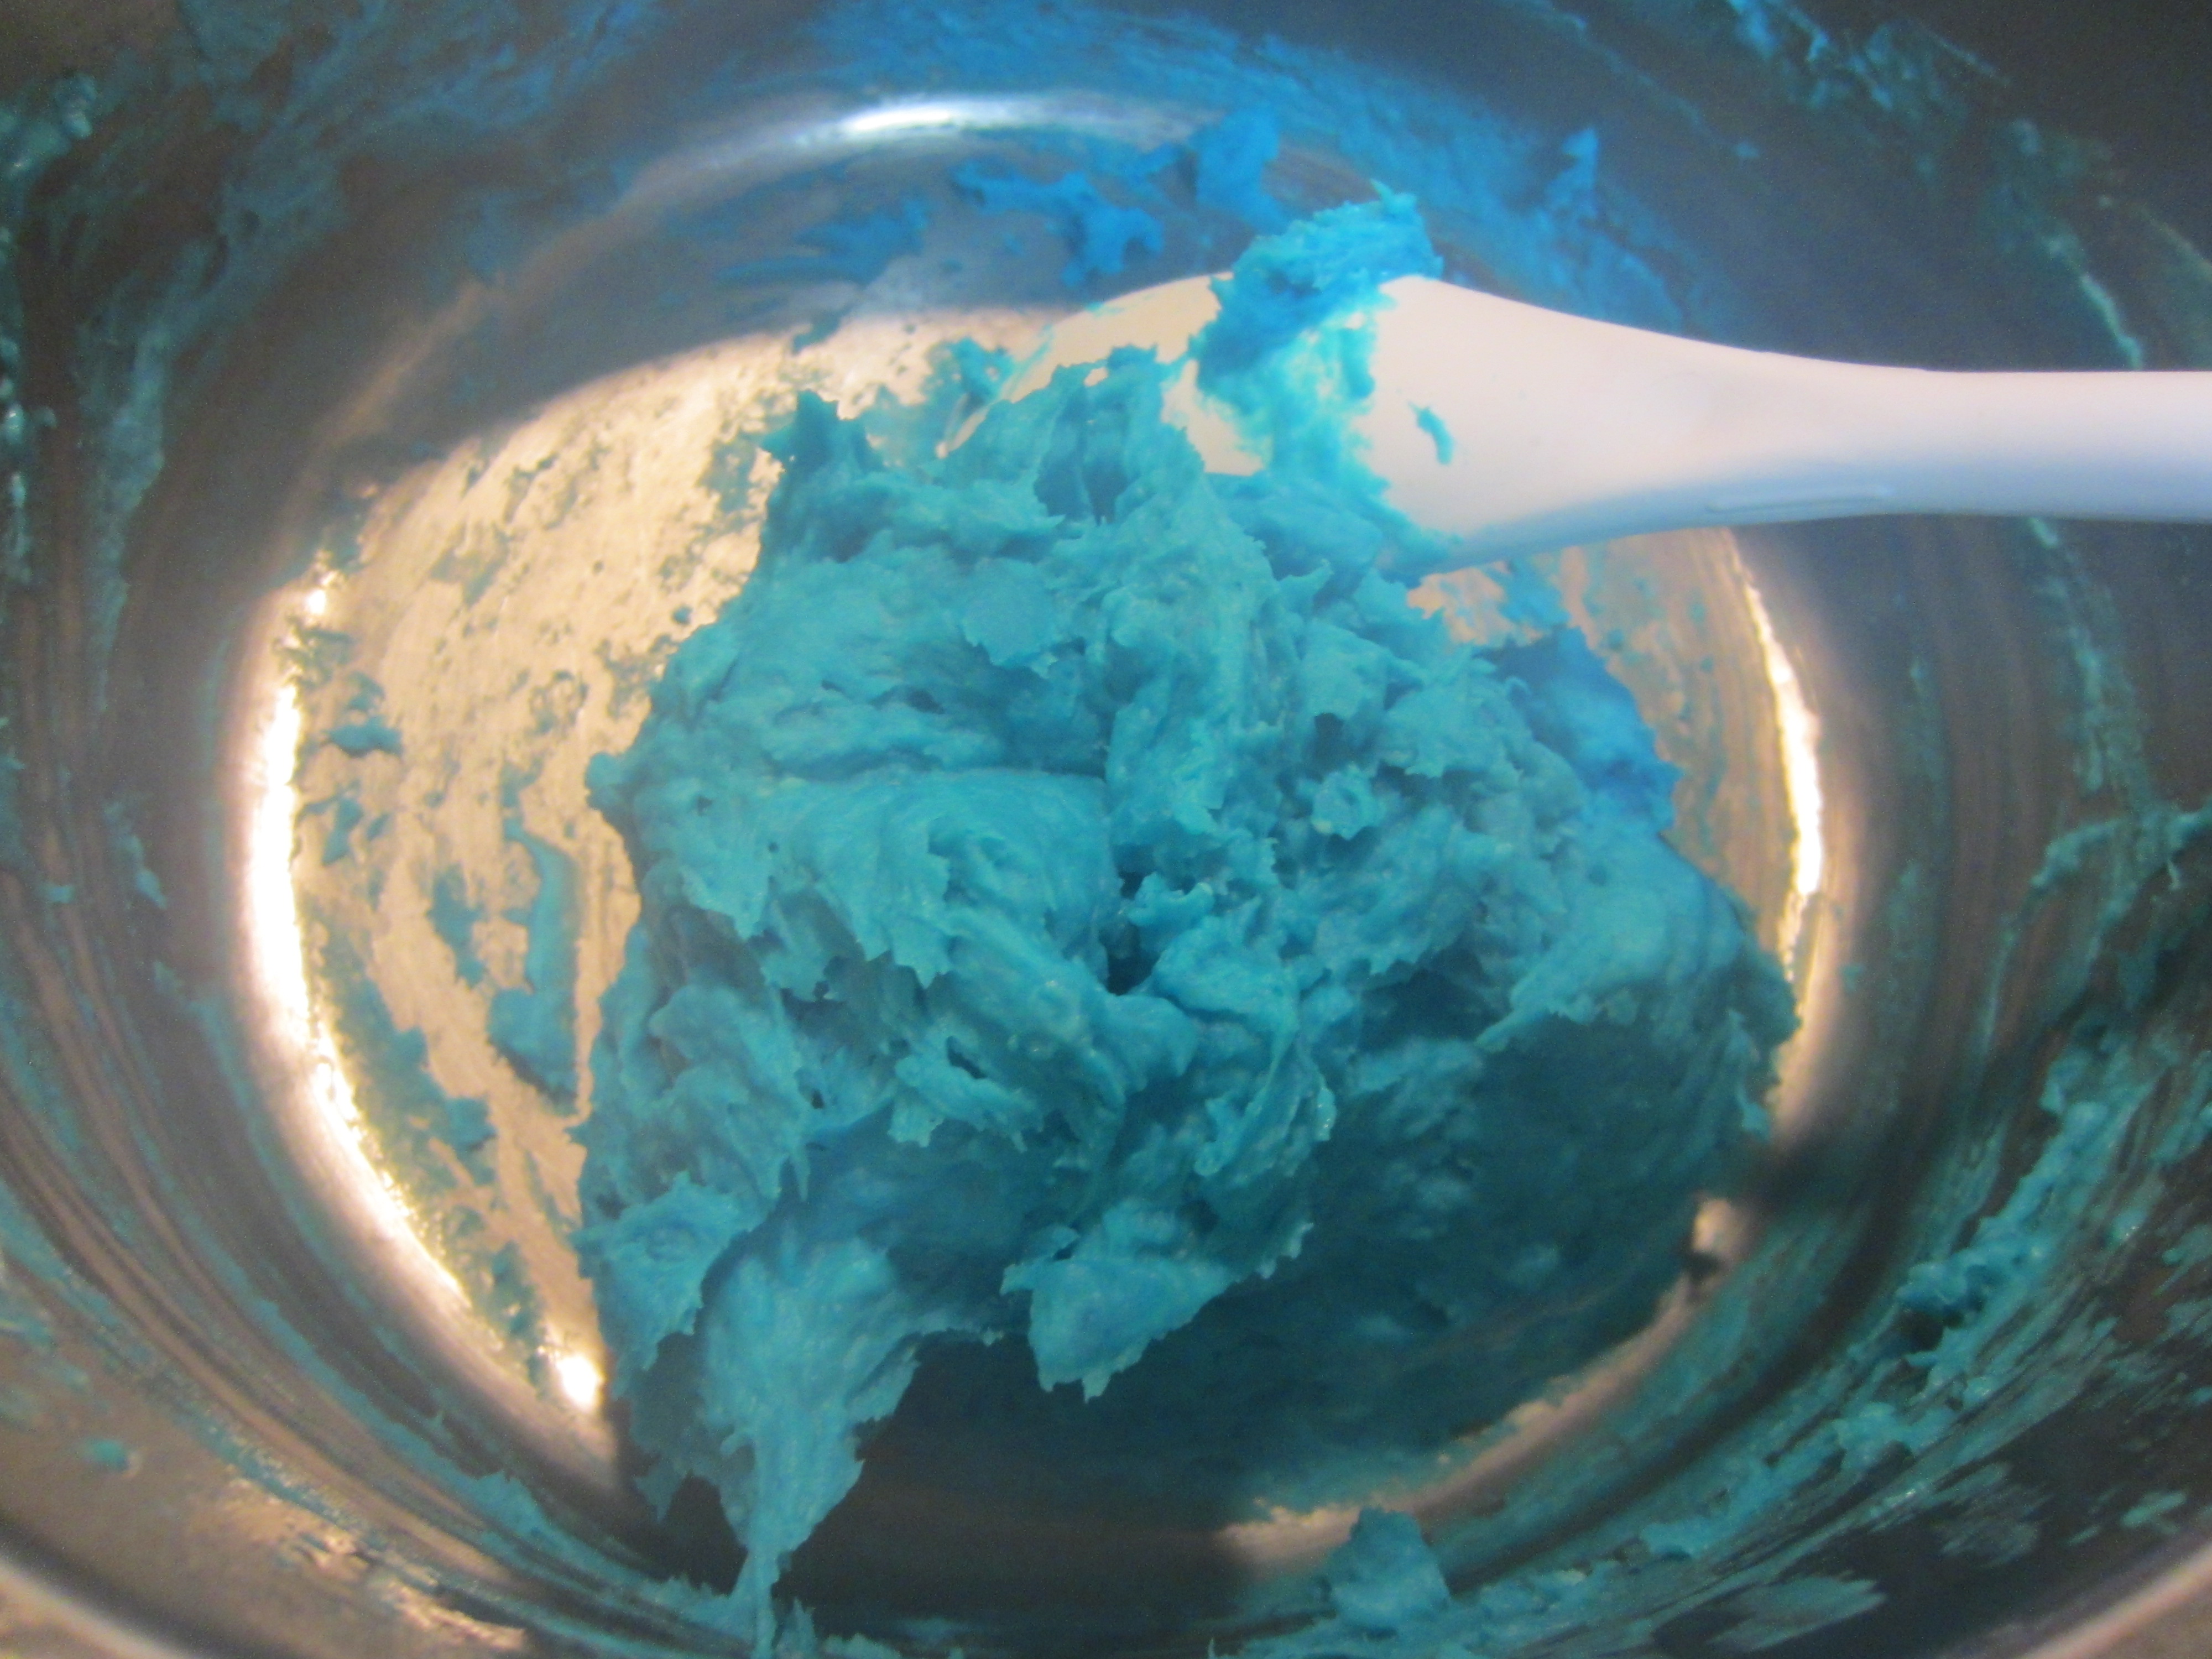
Play Dough
I have had this recipe tucked away for years, but in all honesty, it has been years since I pulled it out and used it. Since my husband and the older kids are all away for the greater part of today, I thought I would mix up a couple batches for the littles to play with.
This recipe came from my husband’s Aunt. Thanks, Faith! It is a really nice texture. I wanted to share this recipe with photographs so you could get an idea of the process. That way, when the lumps show up, you won’t be concerned that it is flopping.
Let’s gather the ingredients:


Combine in pan:
1 c. flour
1 c. water
1/2 c. salt
2 tsp. cream of tartar
1 Tbl. oil
Food coloring (Don’t be shy here. Be generous with the food coloring to get vibrant colors.)

Cook over medium heat, stirring constantly until it is the consistency of mashed potatoes.


Let’s check out the yellow:

Knead until smooth. Kids do this perfectly!


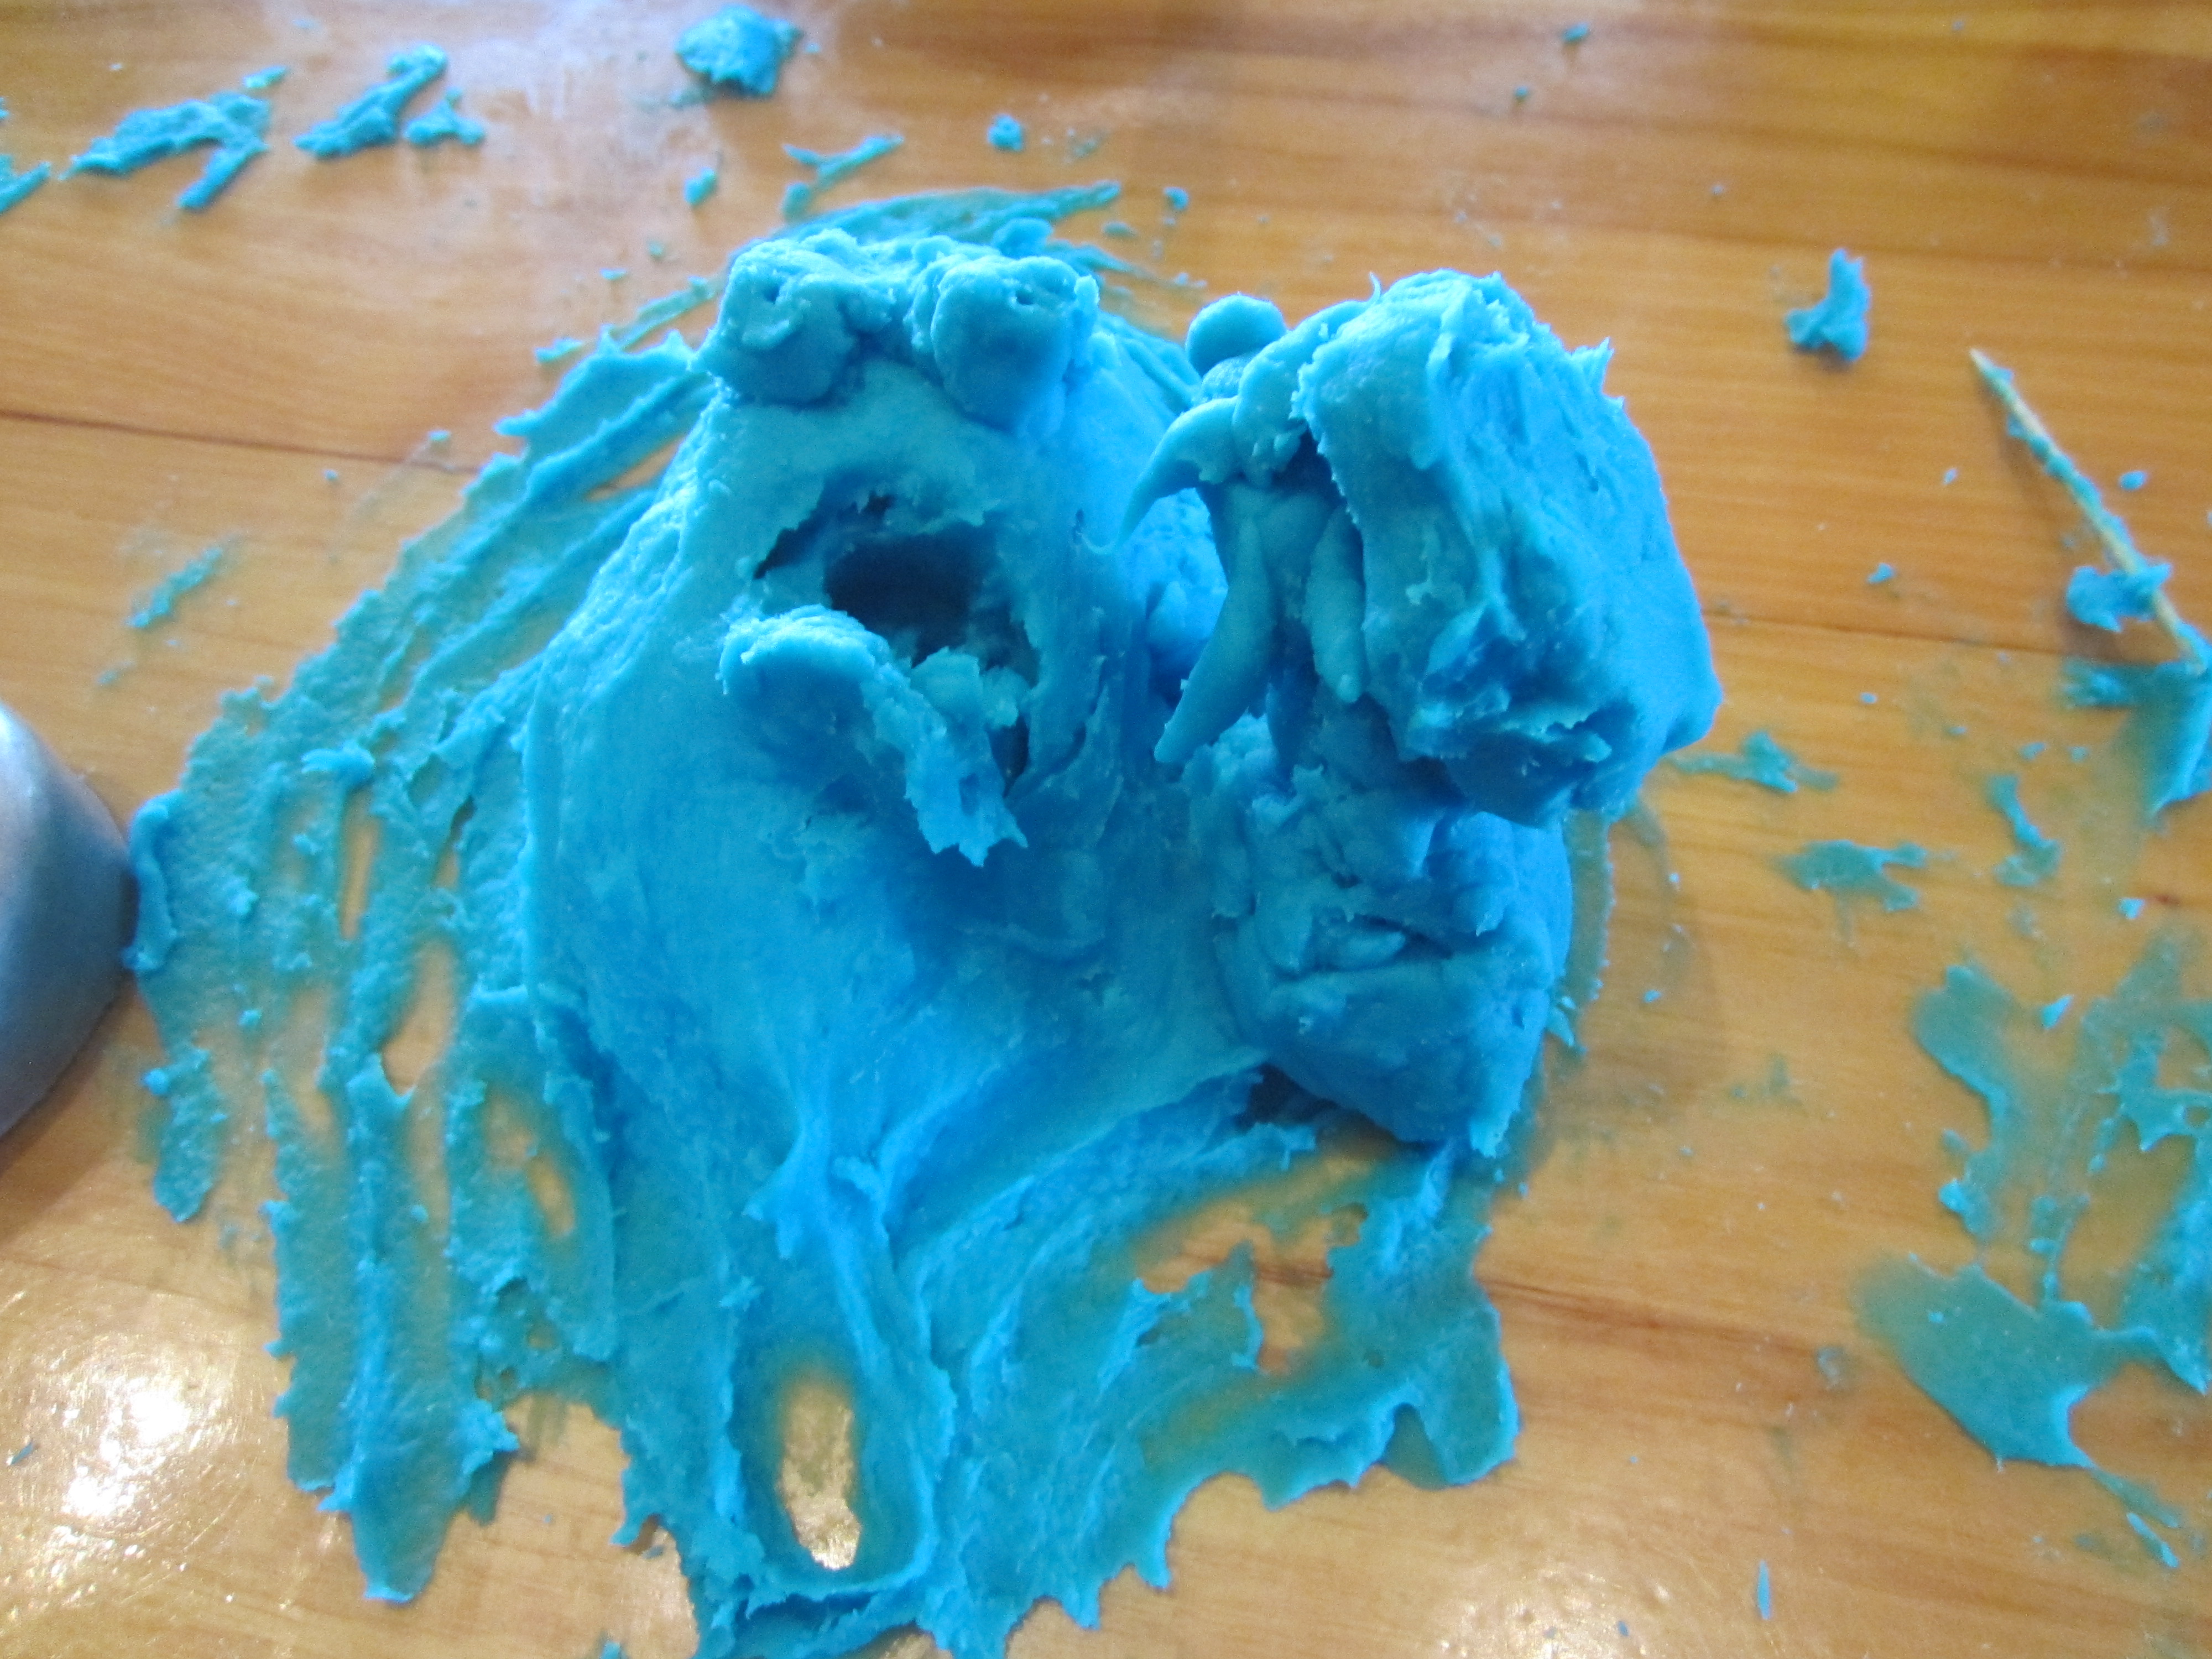
![]() The blue didn’t turn out so good. It needed to cook on the stove longer. We discovered that letting it sit out for a couple hours dried it to the point it became really nice to work with.
The blue didn’t turn out so good. It needed to cook on the stove longer. We discovered that letting it sit out for a couple hours dried it to the point it became really nice to work with.
Store in a sealed container. We used gallon zip lock bags.

Key Lime Cream Cake

Key Lime Cream Cake
2 cups all purpose flour
1 1/2 cups sugar
3/4 teaspoon baking powder
1 teaspoon baking soda
1/2 teaspoon salt
3 eggs
2/3 cup oil
2/3 cup key lime juice
3/4 cup sour cream
- Preheat oven to 350 degrees. Grease and flour 2 8-inch cake pans.
- Sift flour, sugar, powder, soda and salt into mixer.
- Add eggs, oil and lime juice. Beat until smooth.
- Add sour cream and beat until smooth.
- Pour in prepared pans and bake for 25 minutes or until a toothpick inserted comes out clean. Cool and frost.
Frosting
1 cup butter, softened
2 8 oz packages cream cheese, softened
2 16 oz boxes confectioners sugar
1 teaspoon vanilla
1/4 cup key lime juice (optional)
green food coloring (optional for color)
- Beat butter and cream cheese until smooth. Beat in vanilla. For really creamy frosting, mix in 1/4 cup of key lime juice. You can also leave it out or add more confectioners sugar to make it thicker. Add a small amount of green food color if youd like the frosting tinted.
Whipped Cream
16 oz. heavy whipping cream
3 tablespoons sugar
1 teaspoon vanilla
- Chill metal bowl and beaters in freezer for about 20 minutes. When ready to whip, add ingredients to the bowl and beat until stiff peaks form.
Divide cake into four layers and frost. Pipe top with whipped cream or add crushed graham crackers to the side of the cake if desired. Refrigerate.
No-Bake Cheesecake
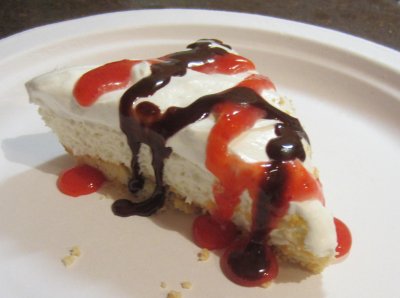 10 oz. 1/3 less fat cream cheese, room temperature
2 teaspoons vanilla extract
1 teaspoon lemon juice
Nustevia to taste
1 cup heavy cream
———————————–
1 and 1/2 cups almond meal
3 tablespoons butter
1 shake Nustevia
Heat oven to 350 F. Melt the butter (if the pie pan is microwave safe, melt the butter in it) and mix the butter, almond meal, and nustevia up in the pan and pat into place with your fingertips.
Bake for about 10 minutes until the crust is beginning to brown. After 8 minutes, check every minute or so, because once it starts to brown it goes quickly.
Combine cream cheese, vanilla, lemon juice, and sugar substitute very well. If you are using an electric mixer, fluff it up for a minute or two.
In a second bowl (if you have only one bowl for a stand mixer, just transfer the cream cheese and use the mixer again for this step), whip the cream to soft peaks – you actually want it slightly less beaten than you would for a dessert topping.
Mix about a third of the whipped cream into the cream cheese mixture. Then gently mix another third in, and then the rest.
Spread cream cheese mixture into crust. Smooth off and chill for at least 2-3 hours. Cover with topping and serve.
Crustless option: Chill cream cheese mixture in bowl, then serve in individual dishes with topping.
Dirt Dessert Recreated – S
1/2 cup almond flour
1 egg white
1 heaped TBSP cocoa powder
Sweetener (I used Nustevia)
1/2 tsp baking powder
dash of vanilla
——————————
1 1/2 cup Choco Pudding (THM pg. 366) made before hand
2 oz cream cheese, softened
2 TBSP butter, softened
1/4 cup heavy cream
Preheat oven to 325 degrees. Mix the first 6 ingredients together well, using however much sweetener that suits your taste. I used at least 4 shakes of nustevia. Roll the dough out to be about 1/4″ thin or so on a parchment papered cookie sheet. Bake for 11 minutes. Let cool.
Blend cream cheese and butter well. Add Choco Pudding and mix it in good, too. In another bowl, whip cream with some sweetener until it is thick. Crumble your cookie into the pudding mixture and fold it in with the whipped cream. Chill and serve.